
This guide’s purpose is to help a Canva AI clothing store improve product photos so listings look professional and convert better.
Expect realistic gains: Magic Edit cleans compositions and speeds iteration, but it won’t replace careful styling or perfect model shots.
Better visuals help a US business raise perceived value, cut returns caused by unclear images, and strengthen brand presentation across channels.
The app sits alongside traditional editors as a faster, easier option for routine edits. When inventory rotates fast, easy use workflows save time and keep listings consistent.
From start to end, this page walks teams through prerequisites, step-by-step edits, consistency rules, templates for scaling, and print-ready exports for merchandise.
Use this as a repeatable operating procedure whether you are a solo founder or a small creative team. It shows how the tools work and how to standardize outputs for reliable results.
Key Takeaways
- Purpose: improve product photos to boost conversions.
- Expect cleaner compositions and faster edits, not flawless miracles.
- Better images reduce returns and improve brand trust in the United States.
- The app complements traditional tools with quick, repeatable workflows.
- Follow a start-to-end routine: prep, edit, standardize, and export.
- Designed as a practical SOP for solo founders and small teams.
Why Magic Edit upgrades apparel product photos for e-commerce
Clean visuals and tight composition make apparel images read as premium, even when shots start imperfect. A neutral backdrop and controlled framing bring texture, seams, and fit into focus. This helps shoppers judge quality faster and reduces doubt at checkout.
Removing small distractions sharpens the eye on the garment. Simple edits keep attention on silhouette and detail without needing advanced editing skills. That saves time and lowers the need for costly reshoots on limited drops.
Increase perceived quality with cleaner backgrounds and sharper focus
Cleaner backgrounds make material and stitching read as higher quality. When the product is the visual anchor, shoppers see style and finish more clearly. Strong images act as trust signals on product pages.
Reduce reshoot costs and editing time for fast-moving inventory
Fewer reshoots shorten production cycles and cut labor handoffs. That keeps seasonal launches and rapid drops moving on schedule.
Create more consistent images across your store, social media, and ads
Consistent design and style across images builds brand recognition across listings, email, and social media creatives. Steady visuals reduce back-and-forth editing and help teams publish on a reliable cadence.
| Benefit | What it fixes | Operational gain | Where it helps |
|---|---|---|---|
| Cleaner backgrounds | Removes distractions | Less retouch time | Product pages, ads |
| Sharper focus | Highlights texture | Fewer reshoots | Lookbooks, listings |
| Consistent style | Unified layout | Faster approvals | Email, social media |
Canva AI clothing store workflows that turn edits into on-brand listings
A fast, repeatable pipeline turns raw photos into listing-ready assets with fewer handoffs. Place Magic Edit between image intake and final export so edits are consistent before layout work begins.
Where Magic Edit fits into a modern apparel content pipeline
Start: import shots to the uploads tab and tag by SKU. Next: quick retouching, background fixes, then layout. Finally, export variants for listings and ads.
When to use templates vs. custom designs
Use templates for high-volume SKUs and marketplaces that need exact sizes. Choose custom design for hero shots or unique campaigns. That balance keeps volume fast and premium images distinct.
How to keep every tab window organized
- Give each new tab window a SKU name and collection tag so a new tab opens new asset with clear context.
- Group tabs by campaign; label tabs when a design opens new tab to avoid mistaken edits.
- Maintain folder hygiene in the uploads tab: separate product photos, graphics, and logos with consistent naming.
| Output | Purpose | Notes |
|---|---|---|
| Main listing | Product anchor | Template-driven |
| Detail zoom | Material & fit | Custom crop |
| Lifestyle / ad | Context & conversion | Custom design |
Discipline with tabs and folders reduces context switching, speeds approvals, and makes repeatable updates simple when inventory changes.
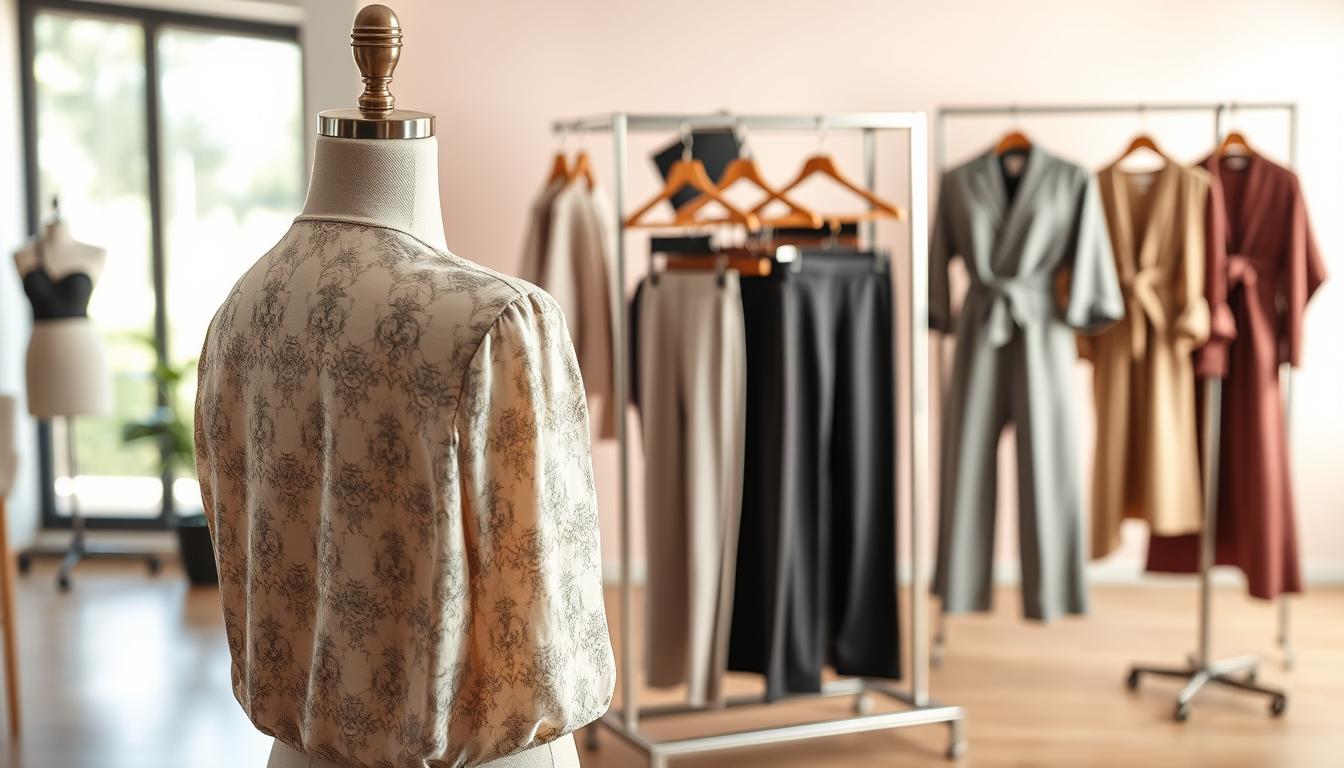
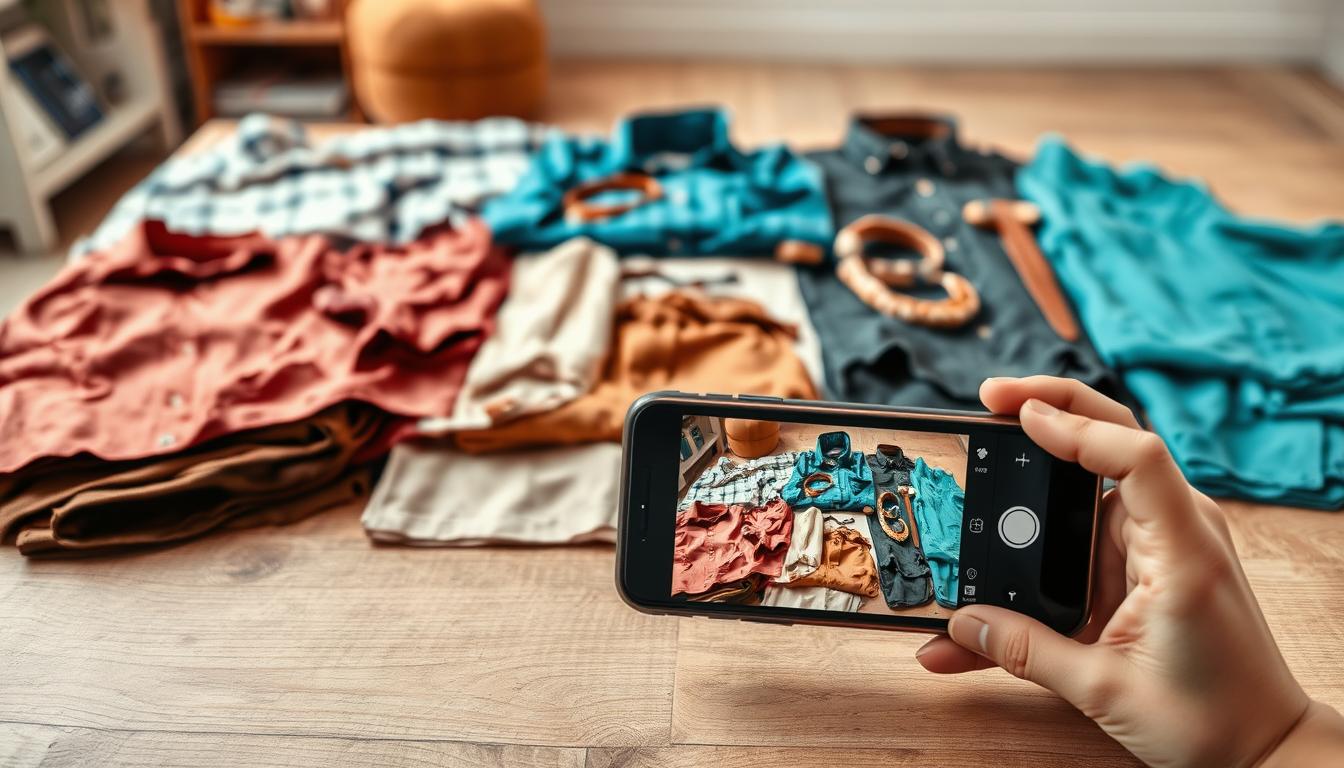
What you need before you start editing in Canva
Before any edits begin, assemble clear product photos and an exact brand kit so output stays consistent.
Product photo requirements for best results
Make sure images are high resolution, evenly lit, and show good contrast between the item and background.
Use a neutral backdrop for clean cutouts. Avoid harsh shadows and overexposure.
Flat lay, mannequin, and model shots each behave differently in edits. Flat lays give predictable edges. Mannequin frames hold shape well. Model shots need careful masking around limbs and hair.
Brand essentials: logo, colors, fonts, and style rules
Gather a high-resolution logo, approved colors, and the exact fonts you use for product headers and labels.
Define simple style rules: spacing, image margins, and when to use graphic elements versus plain backgrounds.
“Brand guardrails keep multiple makers aligned and reduce rework.”
Setting up uploads tab folders for clothing, merchandise, and graphics
Create folders in the uploads tab for category-specific items: tees, hoodies, merchandise, and reusable graphics/elements.
Label folders by SKU and campaign so the maker or marketing team can find assets fast.
- Checklist: logo (hi-res), colors (hex values), fonts (files), style rules, sample photos, export settings.
- Preview tools you’ll use: selection tool, layers panel, and export settings for web and print.
How to use Canva Magic Edit on product photos step by step
Follow a clear step-by-step routine to turn raw product photos into polished listing assets.
Upload and choose the right canvas
Start by uploading high-resolution images and grouping them by SKU in the uploads tab.
Select a canvas size that matches your marketplace: square for catalog grids, vertical for mobile-first marketplaces. Keep sizes consistent across a list of SKUs so thumbnails line up.
Target edits with precise selection tools
Use selection tools to isolate the garment only. Protect collars, seams, and fabric texture when you mask areas.
Write direct prompts like: “remove background, keep shirt texture and stitching.” Iterate until edges stay clean and natural.

Replace backgrounds and refine
Replace backgrounds with on-brand colors or simple white for primary images. Match marketplace rules and keep backgrounds consistent across listings.
Fix wrinkles, lighting, and distractions
Use spot fixes to remove hanger lines, lint, and small marks. Correct exposure and balance shadows without over-smoothing fabric texture.
Add depth and export
Add subtle shadows and a soft ground contact so items don’t look floated. Balance realism with a premium look.
Export tests: try PNG for crisp detail and JPG for smaller file size. Name files by SKU and colorway. Use compression settings that keep detail but speed page load.
Quick QA (a short listend list)
- Match export name to SKU and colorway.
- Verify primary image meets marketplace background rules.
- Open each tab/window and confirm image clarity and shadow balance.
- Final check: upload preview on a product page to test page speed and look.
Design consistency that builds trust across product pages
Consistent design signals professionalism and reduces buyer hesitation. When pages share the same layout, shoppers feel the brand is reliable and detail-oriented. This increases conversions and lowers returns.
Typography and type hierarchy for sizes, materials, and key benefits
Set a clear type hierarchy. Use a bold, readable type for product names, a medium weight for size and material callouts, and a lighter weight for care notes.
Keep fonts consistent across pages and set a minimum mobile size (14px body, 12px captions) so labels like “100% cotton” stay legible.
Using elements and graphics without overpowering the apparel
Adopt a controlled colors palette tied to the brand so accents aid readability rather than compete with the product. Reserve badges, lines, and icons for true signals—sale, new, or size guide.
Follow simple logo rules: show the logo only on secondary images, place it in a corner with generous clear space, and keep it subtle so the product remains the focal point.
| Rule | Recommended use | Why it helps |
|---|---|---|
| Type hierarchy | H1: product name, H2: callouts, small: care | Faster scanning |
| Colors | 1 brand accent, neutral backgrounds | Better contrast with apparel |
| Logo | Secondary images, corner, 10% clear space | Intentional branding |
| Elements | Limit to 1–2 per image (badge, icon) | Less visual clutter |
Reuse these rules across media so the same assets adapt to product pages, ads, and social with minimal edits. That keeps launches fast and consistent.
Templates and batch production for fast catalog updates
A small library of repeatable templates keeps hero shots and detail slides consistent across hundreds of SKUs.
Browse templates focused on product image layouts: pick ones that include a hero image, feature callouts, and a size chart slide. Judge a template by its safe areas, clear text blocks, and how well it supports apparel photography without crowding the garment.
Want create a reusable template set? Lock margins, define logo safe zones, and set consistent type styles. Save header and caption styles so each design matches brand rules and export settings.
For batch production, duplicate a master template, swap photos, and update text fields in order. When each duplicate opens new tab or new tab window, name files by SKU and colorway so every tab window maps to one variant.
Batch editing tips that save time: lock background layers, use reusable text styles, and stick to a strict export naming list. Versioning helps: keep a folder for colorways, one for seasonal styles, and folders for marketplace formats (Shopify, Etsy, Amazon, ads).
https://www.youtube.com/watch?v=6iFHeN7rwD0
Tab hygiene: close completed tabs, keep one window per collection, and run quick QA before export. This cuts mistakes and speeds reviews as your business scales.
Canva print and merchandise-ready assets for shirts and apparel
A single shirt design often needs separate files for mockups, web listings, and actual print runs. Plan exports so each output matches its purpose: on-page clarity, realistic mockups, or press-ready production.
Preparing print-friendly exports for shirt mockups and merchandise visuals
Web vs. print workflows differ. Web images favor smaller file sizes and sRGB color. Print needs high-resolution, CMYK-aware files or files your print partner requests. Treat mockups as sales visuals and production files as the final instruction set for the maker.
Make sure designs meet resolution needs before publishing or printing
Export checklist for print:
- Use 300 DPI at the actual print dimensions when possible.
- Export PNG with transparent background for direct-to-garment or layered PSD/PDF for screen printing.
- Ensure clean edges and consistent placement so logos print where expected.
- Confirm color expectations with test prints or color profiles supplied by your printer.
| Use | Format | Why it matters |
|---|---|---|
| Mockups / images for listings | PNG/JPG, 72–150 DPI | Smaller files, faster pages, realistic display |
| Print-ready art | PNG (transparent) or PDF/PSD, 300 DPI | Sharp logos, correct placement, printer compatibility |
| Archive master | High-res layered file (PSD/PDF) | Easy edits and future variants |
Maker-focused checklist: keep a master file, verify transparent backgrounds, lock safe zones, confirm logo placement, and request a proof. Use the app’s export presets to produce both web and print variants without rebuilding designs. That reduces production issues and speeds launches while keeping merchandise consistent across sales channels.
Conclusion
Wrap up your workflow by turning repeatable edits into steady publishing habits. The main purpose is simple: use this tool to make product photos consistent, conversion-focused, and faster to produce. At the end of each cycle, lock exports and move files into the right folders.
Business impact: expect faster production, fewer reshoots, and a clearer brand presence. Keep your logo and brand kit ready, follow the step-by-step edits, and apply the design rules and templates for scale.
Align assets across social media and other media so ads, listings, and email look coherent. Review top-performing listings, update templates, and document learnings to speed future work.
Standardize collaboration in your community so partners follow the same export settings and naming rules. Implement this system now, or engage professional support to build templates and repeatable production for ongoing catalog updates.