This quick guide helps sellers and marketers make every photo look sharp and consistent across channels. You’ll learn a clear workflow for web, ads, social, and print. The goal is to keep colors true, edges crisp, and composition intact.
We cover fast, beginner-friendly steps using Pixlr Smart Resize for web work, Pixelcut for uncrop and expand, and ON1 Resize AI 2026 for serious upscaling and print. The article shows when to use simple presets and when to pick advanced upscaling or uncrop tools.
Expect practical rules: prep a source photo, pick target dimensions, choose Fill versus Fit, export JPG/PNG/WebP/PDF, and reuse presets for speed. The guide stays platform-agnostic but gives decision rules for marketplaces, storefronts, and social. Both single-image and batch workflows are included so teams can scale from a few shots to full catalogs.
Key Takeaways
- Define the goal: keep listings consistent and accurate across platforms.
- Use Pixlr Smart Resize for fast web sizing and presets.
- Choose Pixelcut for uncrop or aspect changes and ON1 Resize AI 2026 for high-end enlargements.
- Pick Fill vs Fit based on cropping needs and composition.
- Export the right file type and save presets to speed up repeat work.
Why resizing product photos matters for visibility, trust, and sales
Small visual details in a listing can change whether shoppers click or scroll past. Correct image size and clear dimensions make thumbnails, grids, and carousels read well at a glance. That clarity boosts click-through rates and helps conversion.
How size, dimensions, and aspect affect clicks and conversion
When an image fits a platform’s display box, key features stay visible in comparison views and thumbnails. Consistent framing keeps listings comparable, so shoppers judge offerings by value rather than layout differences.
Where resizing goes wrong and hurts quality, detail, and brand consistency
Common platform behaviors—auto-cropping, center-cropping, and aggressive compression—can quietly degrade results. Mismatched ratios cause awkward crops or important details to disappear.
- Frequent failures: jagged edges after downscaling, blurred labels, muddy textures, and compression artifacts that erase fine detail.
- Inconsistent sizing makes a catalog look unprofessional: scale jumps, variable backgrounds, and uneven edges harm brand trust.
- Poor handling worsens the browsing experience: shoppers scroll faster and miss color or texture cues that drive purchase decisions.
Treat resizing as a repeatable system — a consistent workflow across every platform prevents these failures and delivers reliable results for every listing and campaign.
Prep checklist before you resize image files with an AI image resizer
Start every edit by confirming you have the best possible original to work from. Sharper source photos hold detail and reduce artifacts when an image resizer recalculates pixels.
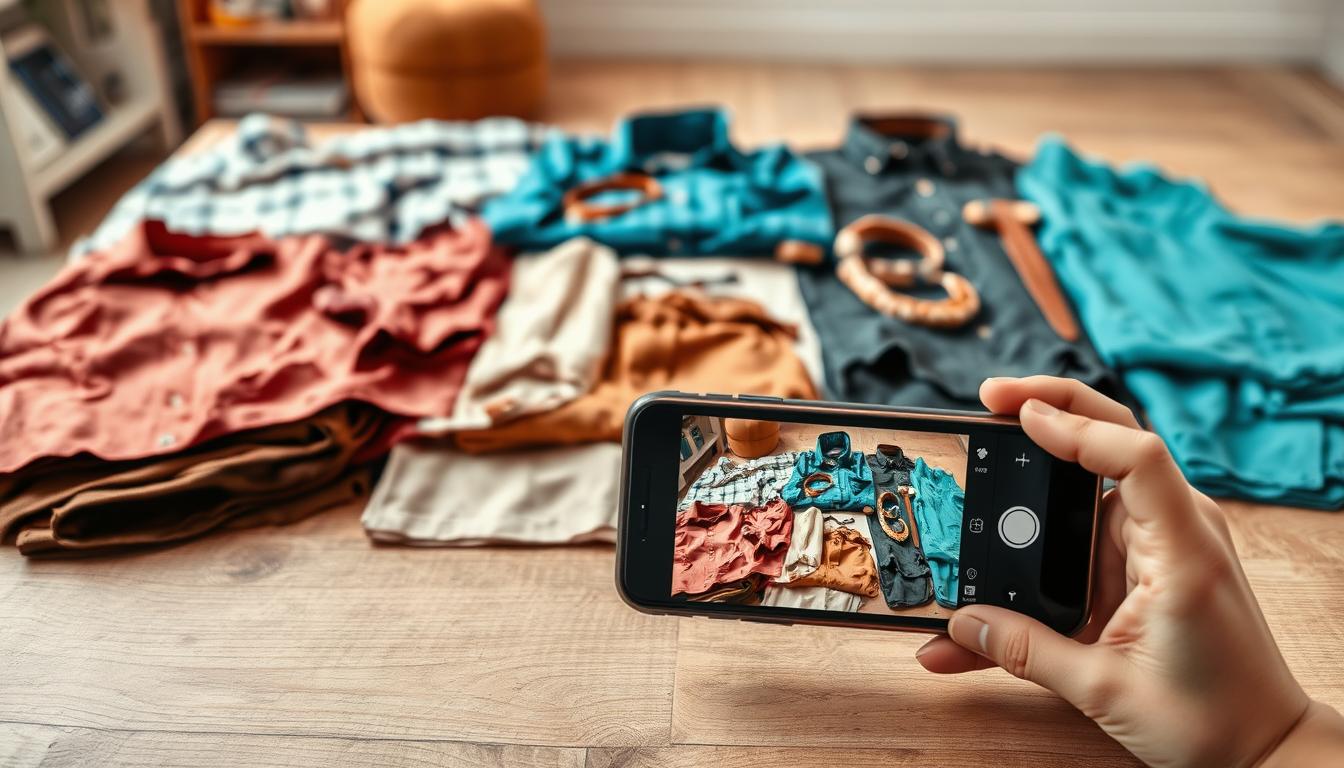
Choose the right source and background for cleaner results
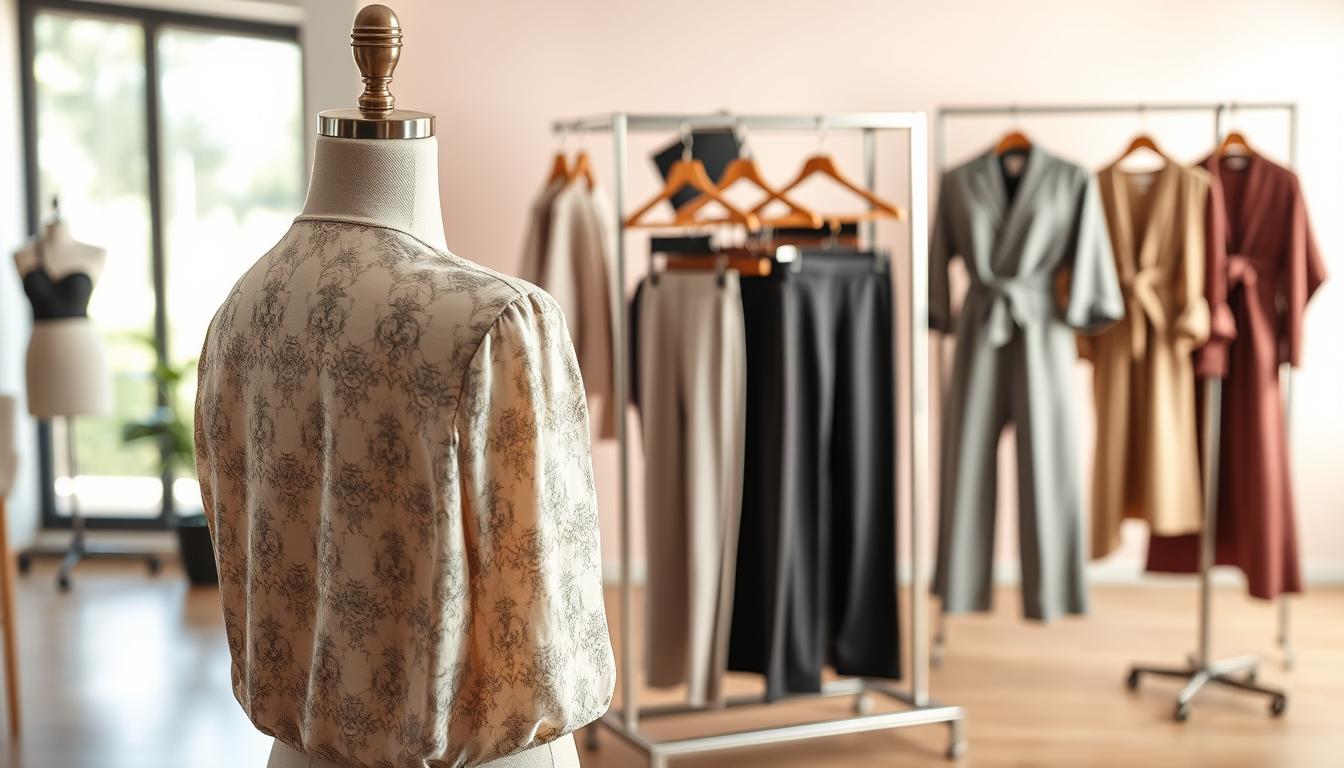
Use consistent, simple backgrounds for catalog shots. Busy textures can cause shimmer or moiré and hide fine details. Keep shadows repeatable and intentional so the final file looks unified across listings.
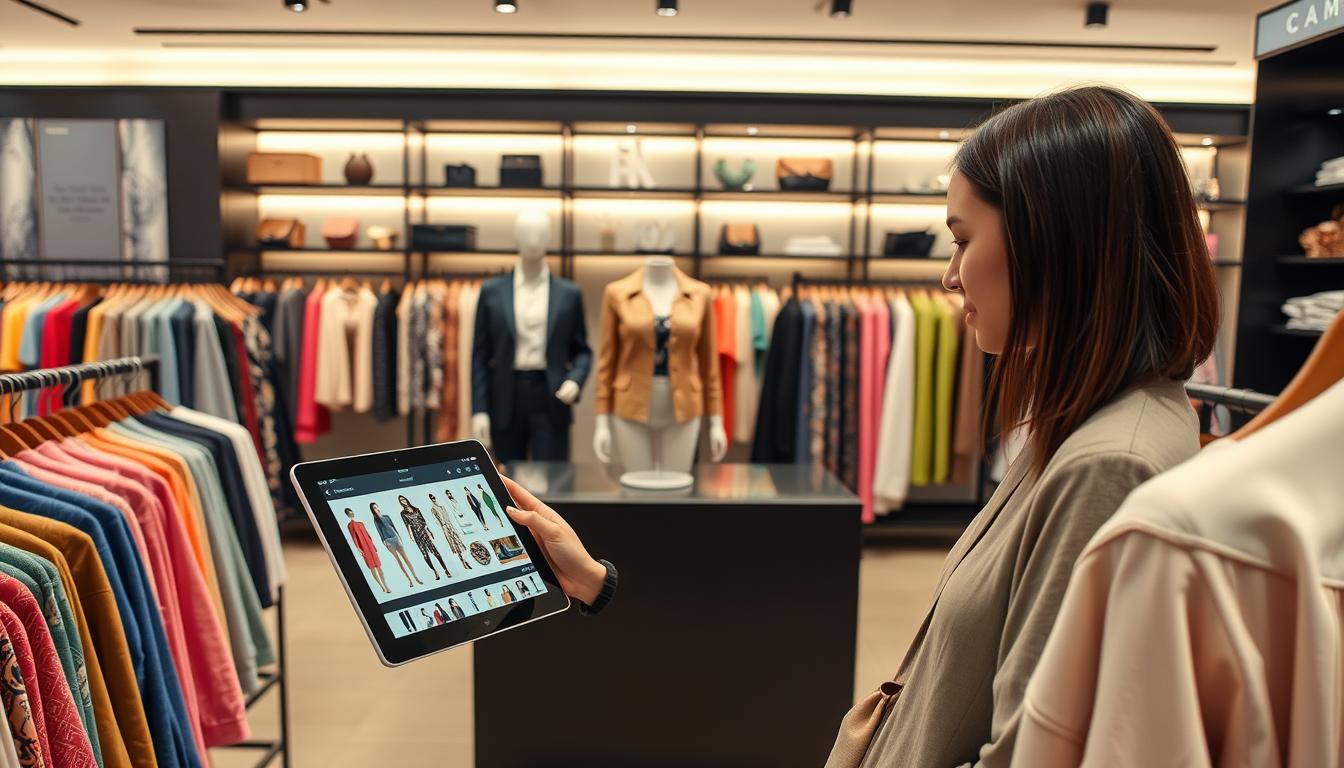
Decide your goal per platform: listing, social media content, or ads
Product listing images need accuracy and consistent framing. Social media content and ads can favor bold crops and readable overlays. Set the goal before you edit so composition and export settings match the channel.
Know what you are changing: pixel dimensions vs file size vs DPI
Pixel dimensions control on-screen rendering. File size affects load time and delivery. DPI matters mainly for print, so plan final inches and DPI before exporting for press.
- Decision rule: For print, set final dimensions and DPI first. For web, prioritize pixel dimensions and modern formats to reduce file weight.
- Organize files with clear names and versioning to avoid overwriting when you export multiple sizes.
- Avoid starting from tiny screenshots, over-compressing early, or applying heavy filters before final edits.
| Prep Item | Why it matters | Quick action |
|---|---|---|
| Source quality | Sharper originals keep more details after changes | Use highest-resolution master available |
| Background | Simple backgrounds avoid artifacts after scaling | Choose plain or consistent backdrop for catalogs |
| Platform goal | Determines crop, composition, and export format | Pick listing, social, or ad preset before editing |
| Export settings | Pixel size, file weight, and DPI affect delivery | Match settings to web or print needs |
AI resize product images with Pixlr Smart Resize workflow
A simple web tool can handle most channel specs without complex setup. Use Pixlr Smart Resize to move from master shots to platform-ready files fast.
Upload and open Smart Resize
Click Open Smart Resize and upload image from your device. This entry point keeps the flow browser-based and quick.
Set new dimensions or pick a preset
Select Smart Resize, then enter width and height or choose a common preset. Exact new dimensions work for marketplaces; presets reduce manual errors.
Fill vs Fit to control composition
Choose Fill when you want the frame filled and can accept edge crop. Choose Fit to preserve the whole subject and add padding if needed.
Save in the right format
Export as JPG for most photos, PNG for transparency, WebP for web efficiency, or PDF when required. Check the result at 100% zoom to confirm labels and sharp edges remain clear.
- Tip: Save multiple versions — hero, thumbnail, and social crop — so you can reuse files without repeating steps.

Choosing the right dimensions for every platform and channel
Start by choosing where the photo will appear; the destination guides dimensions and crop.
Social media presets for faster resizing across platforms
Pick a social preset first to cut rework. Pixlr offers common presets for Instagram posts, stories, and YouTube thumbnails. Use those to keep aspect ratios consistent so content looks right in feeds and previews.
E-commerce listing consistency for marketplaces and storefronts
For Shopify and Amazon, standardize one primary aspect and framing for listings. That makes thumbnails and gallery views uniform and improves perceived trust.
Creative placements: banners, thumbnails, and promo design elements
Banners and category headers need wider ratios. Plan crops so the subject stays legible next to text and design elements.
- Platform-first sizing: pick destination, then preset and final dimensions.
- Build a simple sizing matrix (hero, PDP gallery, thumbnail, social post, ad creative).
- Test a few resized images in a staging area to check how the platform crops and compresses.
| Use | Common preset | Typical dimensions | Design note |
|---|---|---|---|
| Hero | Wide banner preset | 1920×600 | Keep subject left or right for text space |
| Thumbnail | Square preset | 800×800 | Center crop, maintain consistent framing |
| Social post | Feed preset | 1080×1080 | Use safe margins for overlays |
How to resize images without losing quality
Resizing must aim for controlled change: fewer surprises, clearer detail, and predictable results.
Protecting detail and sharp edges when making files smaller
Going smaller always alters pixels, so “without losing quality” means minimizing visible degradation, not eliminating it. Start from the highest-resolution master. Work on a copy and avoid repeated re-saves.
After reduction, check packaging text, seams, and logos at 100% zoom. Apply light sharpening only if edges look soft. Skip heavy noise reduction that blurs fine patterning.
When upscaling is a better move for low-res photos
If a photo is too small for a display, upscaling often gives better results than stretching. Modern upscaling can rebuild detail and keep clarity where simple enlargement would blur.
Avoiding compression artifacts and matching format to use case
Compression artifacts show as blockiness, banding, or mosquito noise around crisp edges. These appear most on clean backgrounds and linework.
- Formats: JPG for standard photos, WebP for lean web files, PNG for transparency and crisp edges.
- Keep a high-quality master file, then export channel-specific versions for consistent results.
Speeding up editing time with batch resizing and export presets
When you must prepare hundreds of files, a batch workflow saves hours. Using export presets and bulk processing keeps output predictable and reduces manual steps.
ON1 Resize AI and similar apps let you set file names, types, and destinations once, then apply that rule set to a whole folder. This turns repeated editing into a single automated pass.
Batch export, naming, and destinations
Set target sizes per channels, lock a file type, and create naming rules that include SKU, size, and campaign. Choose output folders by platform so uploads stay organized.
- Apply one rule set to a folder to cut manual steps and save time.
- Use consistent aspect ratios and margins to keep a uniform catalog experience.
- Run batch mode for seasonal refreshes, new SKUs, marketplace rollout, or full library rebuilds.
Quality checks and consistent presentation
Spot-check a sample for edge sharpness and unwanted cropping. Confirm labels and textures remain readable at final sizes.
Consistency improves customer trust. Uniform framing, margins, and background handling help shoppers scan listings faster and perceive the brand as reliable.
| Step | Action | Why it matters |
|---|---|---|
| Define sizes | Create presets for hero, thumbnail, and social | Prevents rework across channels |
| Naming rules | Include SKU, size, and campaign | Speeds upload and tracking |
| Export automation | Set destinations and lock file types | Reduces errors at scale |
When to use advanced AI upscaling tools for pro results and print
Reach for high-end upscaling when tight crops or large-format prints are part of the deliverables. Pro software makes a real difference when a small photo must become a sharp, printable asset without obvious artifacts.
Decision threshold: choose advanced enlargement tools when you need to enlarge small photos, rescue tight crops, or deliver print-ready outputs with consistent quality.
ON1 models for different needs
ON1 Resize AI 2026 offers two models. The Highest Quality model reconstructs fine textures and handles tight crops for ultra-sharp enlargements up to 10x.
The Standard model is faster and excellent for noisy or compressed files and large batch jobs.
Face recovery and photorealistic reconstruction
Advanced face recovery controls let you dial strength so faces stay natural. That matters for close-ups and wearable merchandise where skin tone and texture must remain believable.
Plugin workflows for photographers
Use the standalone app or run it as a plugin inside Lightroom Classic, Adobe Photoshop, or Capture One to keep your color and retouch steps intact.
Print-focused features
Print tools include soft proofing, gallery wrap margins, and tiling for murals or canvas. Photoshop support preserves layered files with masks, text, and adjustment layers for composites and ad creative.
- Practical deliverables: export web-ready files for storefronts and separate print-ready masters for lookbooks, signage, or in-store use.
- Batch & presets: use export presets for consistent naming, destinations, and file types to speed workflow and protect quality.
Fixing crops and aspect ratio changes with uncrop and AI expand
When a platform enforces a strict frame, your original crop often loses key detail or gains awkward padding.
Aspect shifts are common because platforms require specific shapes. That can clip important parts of the subject or force you to shrink the photo so it fits. Both outcomes look unprofessional and hurt conversion.
Using outpainting to extend backgrounds for new ratios
Outpainting (uncrop or expand) extends the scene so the subject stays centered and the new aspect fits without shrinking. Instead of adding blank bars, the algorithm continues textures, lighting, and surface details to match the original shot.
Common scenarios and composition rules
Convert a square to a wide banner for a homepage, turn a tall lifestyle shot into a feed-friendly post, or adapt a hero to ad specs. Each case needs the subject scale preserved and a natural background extension.
- Keep subject scale consistent so proportions remain believable across platforms.
- Extend background to match lighting, shadow, and surface texture; avoid repeating patterns that create odd effects.
- Use the added space as safe areas for text, price callouts, or promo elements without covering the subject.
Pixelcut’s “Uncrop & AI Expand” shows this approach in action. It is an online tool loved by over 2 million people for quick outpaint workflows, especially for small businesses selling bags, accessories, and similar goods.
Final QA: check blends and edge effects
Zoom to 100% around edges and shadows. Confirm the expanded background blends naturally and has no repeating artifacts or halo effects.
| Issue | Why it matters | Quick check |
|---|---|---|
| Clipped subject | Key details lost in thumbnail or banner | Confirm important parts remain visible |
| Awkward padding | Unprofessional look that reduces trust | Look for blank bars or odd margins |
| Mismatch in lighting | Expanded background looks fake | Compare shadows and highlights at 100% |
| Repeating patterns | Creates visible tiling or artifacts | Scan edges and large fills for repetition |
Conclusion
Turn one strong master into predictable, channel-ready results. Start with a sharp image and follow a short checklist: pick final dimensions, set aspect and size, then export the right file for each channel. This keeps visual detail consistent and saves time.
Use a fast online tool for everyday work, an expand method for aspect changes, and advanced software when print quality matters. Save presets and batch rules so every set of photos follows the same steps.
Final check: preview on the live platform, confirm sharpness, crop, and background match. Then pick one test item, make 2–3 platform files, and save your preset so the next batch is repeatable.