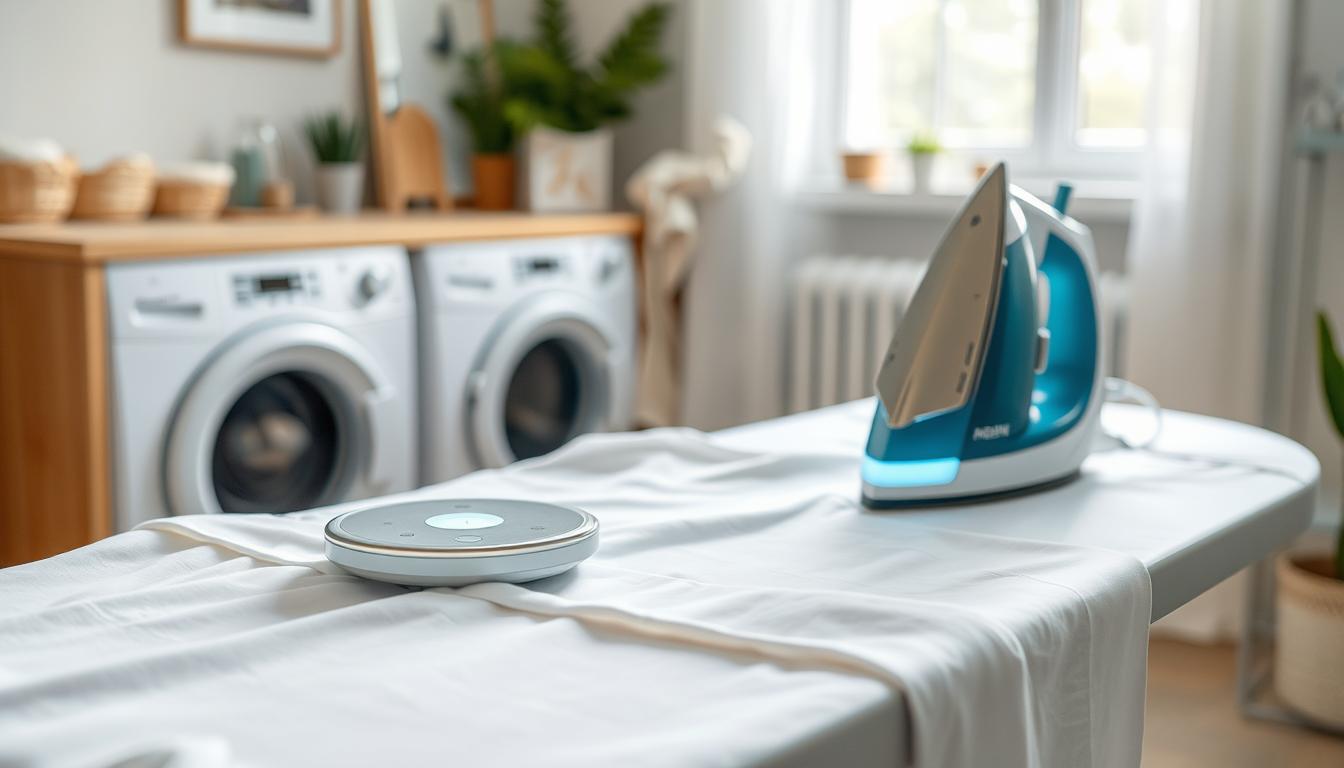
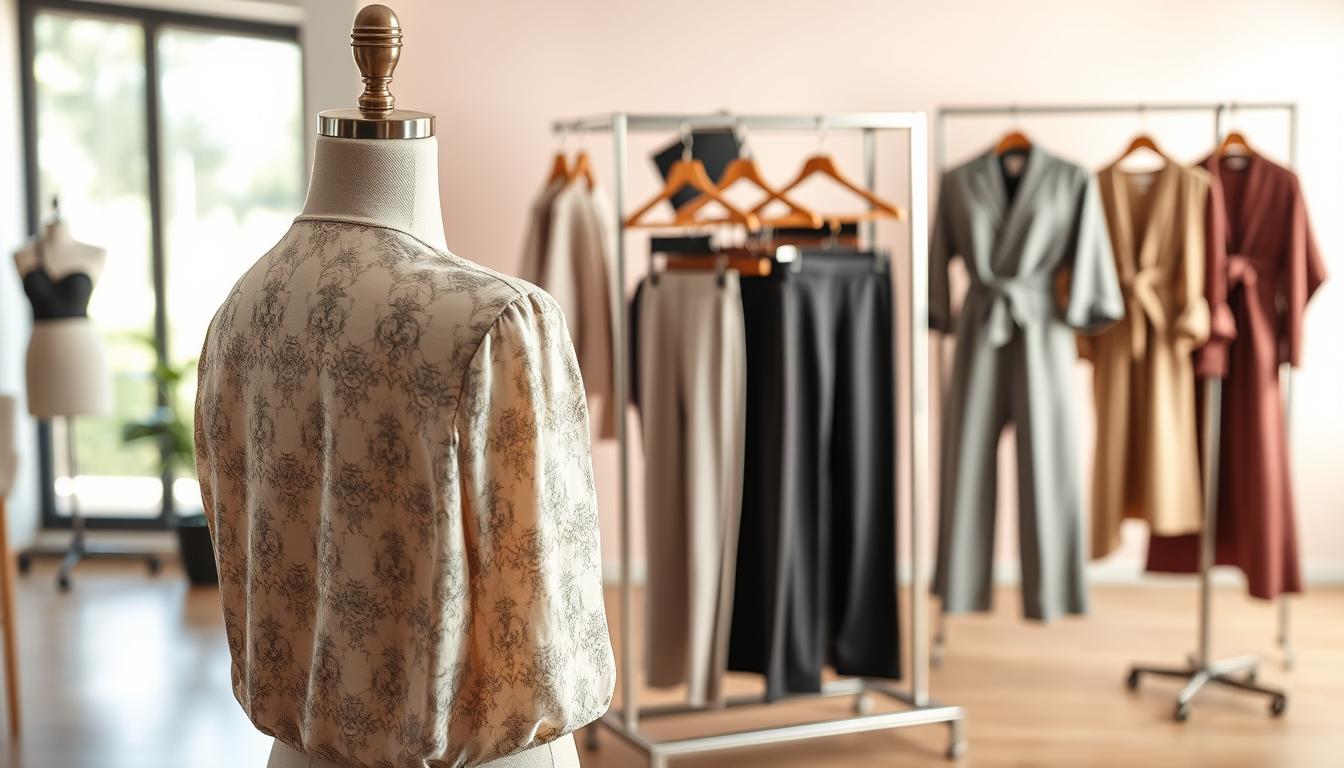
This quick guide shows how to smooth fabric in images while keeping a natural look. Pixelcut, used by over 2 million people, and tools like OpenArt and Kaze AI show that a web-based workflow can deliver fast, professional results.
Goal: edit creases in a photo without making fabric look flat or blurry. You will learn how to pick a wrinkle remover approach for different garments, prepare an image, and check results for realism.
Expect realistic outcomes: these tools cut distracting creases and harsh fold shadows, but good results keep some natural folds to avoid a “cutout” appearance. Typical US uses include e-commerce listings, brand marketing, creator content, and quick refreshes before posting.
At a glance, the core process is upload → choose an erase method → mark wrinkle areas → apply removal → refine. Different categories, like clothing versus faces, need different techniques; this article focuses on clothing first and portrait touch-ups later.
Key Takeaways
- Pick a tool that balances speed and fabric detail for best results.
- Prepare images with good lighting to help the process work cleanly.
- Keep subtle folds to maintain texture and depth.
- Use the upload → mark → apply → refine workflow for consistent outcomes.
- Expect faster fixes for simple creases, longer edits for complex garments.
What “wrinkles” mean in photos and when AI editing helps most
Before you edit, learn what people actually see as a wrinkle in a clothing image.
Viewers call several things wrinkles: compression folds from packing, creases from storage, tension lines near seams, and dark bands made by uneven lighting. These all read as distractions in product listings and outfit posts.
Clothing vs. face concerns
Garment folds often hide fit or detail, so reducing them can help sales and clarity. By contrast, skin fine lines and texture are part of identity and should receive subtle treatment.
Common scenarios that benefit
Best fits for automated editing include marketplace product shots, boutique catalog photos, and creator outfit posts. Quick edits also help social media and older images that need a fast refresh.
- If a line is a temporary packing artifact, it’s usually safe to reduce.
- If a fold defines drape or fit, preserve some texture and shadow.
- Tools vary: smoothing is common for faces; inpainting or object-style reconstruction often works better for fabric.
Why creators use an AI wrinkle remover for faster, cleaner results
When volume matters, a good wrinkle remover speeds edits and keeps fabric looking real.
Professional-grade clarity with natural-looking texture
Cleaner images mean fewer distracting creases while keeping fabric depth. Editors like Pixelcut and Kaze AI deliver outcomes that look polished but not plastic.
Practical result: enough texture remains so folds read as real fabric under light.
Confidence boosts for profile pictures and marketing
Creators use this tool for headshots, portraits, and profile pictures to build a consistent brand appearance. Better visuals lift perceived quality across listings, ads, and social media.
Time savings versus manual retouching
Replacing repetitive clone-and-blend steps with an erase and inpaint pass saves hours on a shoot. Many users report that bulk cleanup can be done in a few clicks, then refined by hand for seams or logos.
“Saved me hours and kept results natural.” — Eliza H., Kaze AI testimonial
- Faster first pass: bulk reduction of lines and creases.
- Hybrid workflow: tool for scale, manual touch for details.
- Marketing impact: consistent, cleaner photos raise buyer trust.
| Workflow | Typical time | Best for |
|---|---|---|
| Manual clone/heal + blend | 30–90 min per image | High-detail edits around seams |
| Tool erase + inpaint | 1–5 min per image | Bulk cleanup and catalog work |
| Hybrid (tool + manual) | 5–20 min per image | Balanced speed and precision |
AI remove wrinkles photo: choosing the right tool for clothing images
Choosing the right editor changes whether a shirt looks polished or overworked.
Pick tools that treat fabric like fabric. For clothing, prefer a remover that preserves grain, stitching, and directional folds rather than a global smooth pass. That keeps texture and depth while fixing distracting lines.
Tools that prioritize precision and preserve fabric details
Look for controlled brush sizes, zoomed editing, and predictable fill behavior near collars and cuffs. These features give the precision needed around seams and high-contrast edges.
When an object remover or inpainting editor works better than smoothing
Clothing creases are local shapes that need reconstruction, not blanket softening. Inpainting or object removal rebuilds missing fabric patterns and keeps directional folds where they belong.
What to look for in results: realistic folds, consistent lighting, no blur
Good results keep subtle folds, maintain consistent lighting across the edited patch, and avoid blurry smears over textured fabric. Test on a duplicate copy: run a quick pass, then compare the edited image to the original to ensure the garment still looks believable.
- Fast mode (Quick Erase) for light creases.
- Controlled mode (Magic Erase/manual brush) for complex wrinkle work.
- Validate final output across the full frame and in zoomed views to check for artifacts and lost details.
Before you upload: prep your image for better wrinkle-removal results
A few quick checks on resolution and lighting save time and preserve fabric texture during edits. Good prep helps tools work predictably and keeps garments looking natural.
Start with high-resolution photos for cleaner edits
Higher-res files matter: more pixels give the editor fabric information to preserve weave and stitching.
Low-res sources often yield mushy fills or repeated patterns. Shoot or export at the highest practical size for best results.
Check lighting, contrast, and background distractions
Correct exposure so harsh shadows do not exaggerate wrinkles. Avoid crushed blacks that hide detail.
Busy backgrounds can confuse fills near edges. Clean the background first or mask the garment before you upload photo for editing.
Zoom strategy for precision on seams, collars, and textured fabrics
Work tight on seams, collars, hems, and pleats at high magnification to prevent bleed. Start with a small-area test: fix one minor wrinkle on a sleeve to gauge how the tool handles cotton, denim, knit, or satin.
Keep an original copy and edit non-destructively so you can revert if a texture repeats or blurs. This preserves final results and important details.
Step-by-step process to remove wrinkles from clothing photos with AI
Start with a clear plan so the editing canvas shows the target area at a useful zoom. This helps you work with precision and avoid broad changes that flatten fabric texture.
Upload your photo and let the editor process the image in seconds
Drag and drop to upload photo, then wait for the editor to finish. Processing typically takes a few seconds to a minute and opens an editing canvas ready for work.
Select the best erase method for the job
Use Quick Erase for faint creases on flat panels. Switch to Magic or manual brush when folds sit near seams, buttons, or patterned textiles.
Mark wrinkle areas without flattening fabric structure
Paint along the ridge and the darkest line of a crease. Avoid covering stitching, logos, or hardware unless the tool explicitly preserves edges.
Apply “remove now,” then review the full frame for artifacts
Work in small passes—fix a few creases at a time so fills match nearby weave. After you click “Remove now,” zoom out and scan the full image for patchiness or directional mismatches.
Refine and blend so edits match surrounding texture
If a patch looks off, rerun a tighter selection, reduce brush size, and soften edges to match shadow softness. Keep clothing cleanup separate from any skin edits to avoid unintentionally smoothing faces.
How to get natural-looking wrinkle removal without over-editing
The best retouches hide distracting lines without erasing the fabric’s natural drape.
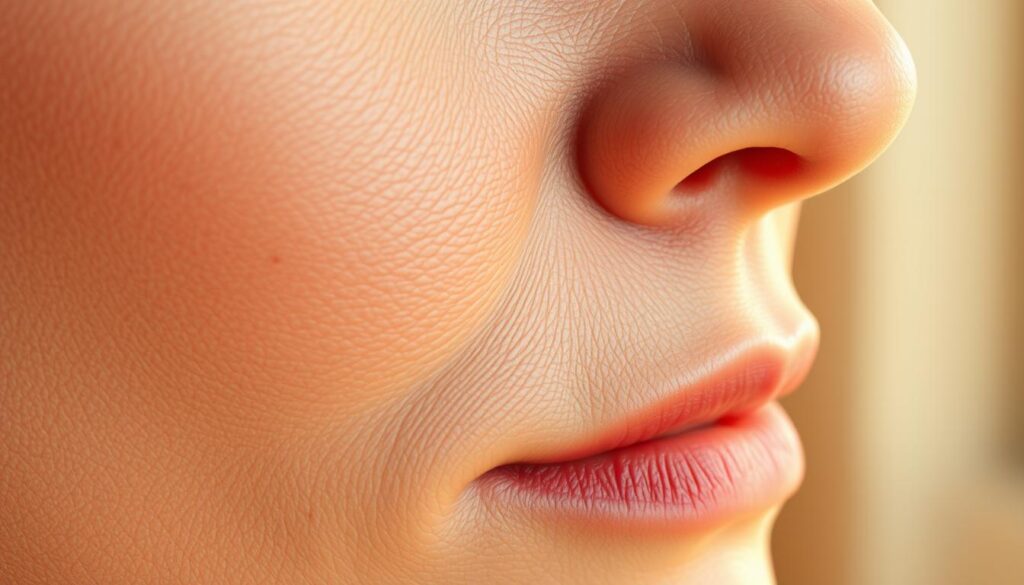
Preserve texture: aim to reduce the most obvious creases while keeping enough folds to show fit and fabric weight. If the weave or nap disappears, the garment will look fake.
Preserve natural fabric texture and avoid plastic-looking smoothing
Use small, controlled selections and avoid wide, soft brushes that blur surface detail. Keep directional grain and stitch lines intact so the result reads as real fabric.
Work in small passes for better control and realism
Do several light edits instead of one aggressive pass. Multiple subtle fixes blend better and limit repeating patterns or banding.
Match surrounding details: stitching, patterns, and shadows
Zoom near seams and patterns to keep stripes and checks aligned. Make sure shadows follow the original light so depth and contrast stay consistent.
“Subtle smoothing that preserves texture makes images sell better and feel honest.”
- Define a natural-looking fix: reduce distracting creases but keep drape and weight.
- Practical test: if fabric looks airbrushed, undo and reapply with smaller selections.
- Mixed scenes: treat skin fine lines differently—keep natural skin texture so the person still looks like themselves.
- Compare: view original and edit side-by-side at 100% and feed size before exporting.
| Check | Fast test | Fix if needed |
|---|---|---|
| Texture retention | 100% zoom inspect | Smaller brush, repeat light passes |
| Pattern alignment | Zoom across seam | Use precise inpaint or manual cloning |
| Shadow direction | Compare global lighting | Match contrast, avoid flattening |
Clothing photo pitfalls and quick fixes for more realistic edits
A careful edge strategy prevents cleaning patches from standing out on garment photos. Small hardware and seam errors are the most visible failures after editing.
Edge issues around buttons, zippers, and logos
High-contrast edges confuse inpainting. Buttons, zipper teeth, and embroidered logos can warp if the selection crosses them.
Quick fixes: paint up to the edge with a smaller brush, avoid heavy overlap on hardware, and leave tiny creases near closures so the garment reads natural.
Banding, blur, and repeated patterns from aggressive fills
Aggressive fills can create tile-like repeats, banding, or soft blur on knits and stripes. That breaks fabric texture and draws attention.
Correction tactics: undo, tighten the selection, vary the edited area, and blend the borders in multiple light passes to hide repeating blocks.
Wrinkles that should remain to keep the garment believable
Keep tension lines at elbows, waist bends, and seated creases. These small folds communicate fit and motion.
“Review and refine the inpaint process until the edited patch matches nearby weave and shadow.”
| Issue | Fast test | Fix |
|---|---|---|
| Hardware distortion | Zoom 200% | Smaller brush, edit to edge |
| Repeated texture | Scan full frame | Vary selection, blend edges |
| Background halo | Check garment outline | Clean background separately |
Extending the workflow: skin retouching for portraits in the same session
Expand edits to portraits by focusing on subtle corrections that preserve character and texture.
Start with restraint. Treat the face like fabric: target the most distracting lines while keeping natural skin texture intact.
Smoothing fine lines while keeping natural skin texture
Aim to soften harsh lines without erasing pores. Small, controlled passes help keep the skin looking real.
Use the same non-destructive workflow as clothing cleanup: test a tiny area first, then widen the edit if the result holds up.
Target key areas without changing facial identity
Prioritize under-eye creases, smile lines, and forehead lines only when they distract from the subject’s expression.
Keep eyebrow and hairline edges crisp so the person remains recognizable.
When to retouch family portraits and professional headshots
Family portraits benefit from gentle, even retouching across everyone so results feel consistent.
Professional headshots need subtle, uniform polish—avoid heavy smoothing that alters appearance or lighting cues.
“Subtle smoothing that preserves texture keeps images authentic and subjects recognizable.”
- Edit at moderate zoom and work in light passes to control results.
- Compare before/after frequently to ensure expression lines stay believable.
- Keep the same retouching level across a set so galleries look cohesive.
| Context | Focus area | Recommended passes |
|---|---|---|
| Selfies & casual portraits | Under-eye, smile lines | 1–2 light passes |
| Family portraits | Even, gentle smoothing | Consistent, low-strength pass per person |
| Professional headshots | Forehead, lines near eyes | Subtle polish, maintain texture |
Best export settings and formats for e-commerce and social media
A correct export makes your edits hold up from desktop to small thumbnails. Final settings decide how the image looks in listings, feeds, and profile pages. Save with the end channel in mind to keep retouching work and background edges intact.
Crop and sizing for marketplace listings and profile images
For marketplace listings, center the garment and leave breathing room around sleeves and hems. Maintain a consistent aspect ratio across a catalog for a cleaner storefront.
- Marketplace: high-quality JPEG at full web size (avoid extreme downscaling).
- Transparent needs: PNG when you need clean transparency or a crisp outline against a new background.
- Profile & selfies: crop so the face or garment detail reads at thumbnail size—keep the important area centered.
Quality checks before publishing: zoom, color, and compression
Zoom to 100% to spot blur, repeating texture, or halos from edits. Then zoom out and view the image in a feed preview to confirm the results still look natural.
Check color fidelity on a calibrated screen when possible. Avoid over-compressing after retouching because compression can reintroduce banding and reveal edit boundaries.
- Inspect the background edge near the silhouette and confirm it is crisp, not feathered.
- Save a master file (TIFF or high-quality PNG) before exporting compressed web files.
- Run a quick test upload to the intended social media or marketplace to see how the picture renders in context.
Final tip: keep a checklist of common questions—size, file type, and thumbnail legibility—so your image exports match business needs and deliver consistent results across media.
Conclusion
Close the workflow with a short test edit, then inspect texture and edges at full zoom to confirm a natural result.
Keep the main takeaway simple: the best wrinkle remover approach for clothing protects fabric grain and believable folds instead of blanket smoothing. Prep the image, work in small passes, check at multiple zoom levels, and refine until lighting and texture match.
Some lines and folds help the garment read real. Edit distracting creases but preserve tension lines for fit and motion. For portraits, respect natural skin and subtle lines so family photos and selfies still feel like the person you know.
Next steps: run a quick test with Pixelcut, Kaze AI, or OpenArt, export with careful compression, and preview on mobile and desktop. If results look blurry or repetitive, undo and use smaller selections; mask hardware to avoid warped edges.

