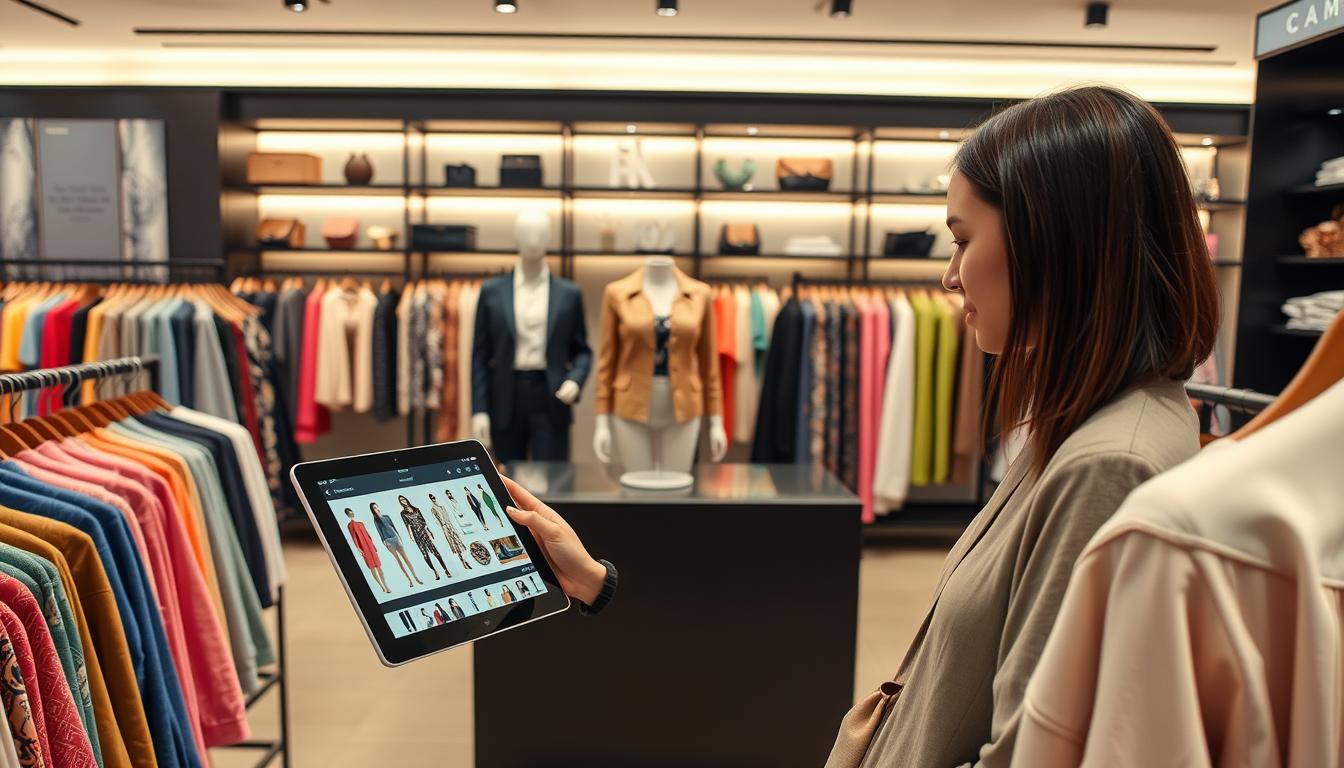
Make product listings look professional with a clean, invisible-body presentation that keeps the garment’s shape. This guide shows a simple Upload → AI Process → Download workflow to produce consistent, marketplace-ready photos without a full studio shoot.
The goal: create a hollowed, three-dimensional effect that removes distractions while preserving structure. Brands and ecommerce sellers use this method to scale product imagery and speed up listing production.
The process fits modern teams: minimal manual steps, repeatable outputs, and quality control that works across shirts, jackets, and other apparel. You will learn the basics of the effect, why automated editing is chosen, what files to upload, and how to judge final image quality.
Key Takeaways
- Use a simple Upload → AI Process → Download system for scalable product photos.
- Expect a hollow, 3D garment presentation that keeps shape and detail.
- Automated editing reduces manual work and improves consistency.
- Works across categories, from tees to outerwear, for marketplace-ready images.
- Learn what to upload and how to evaluate output for professional listings.
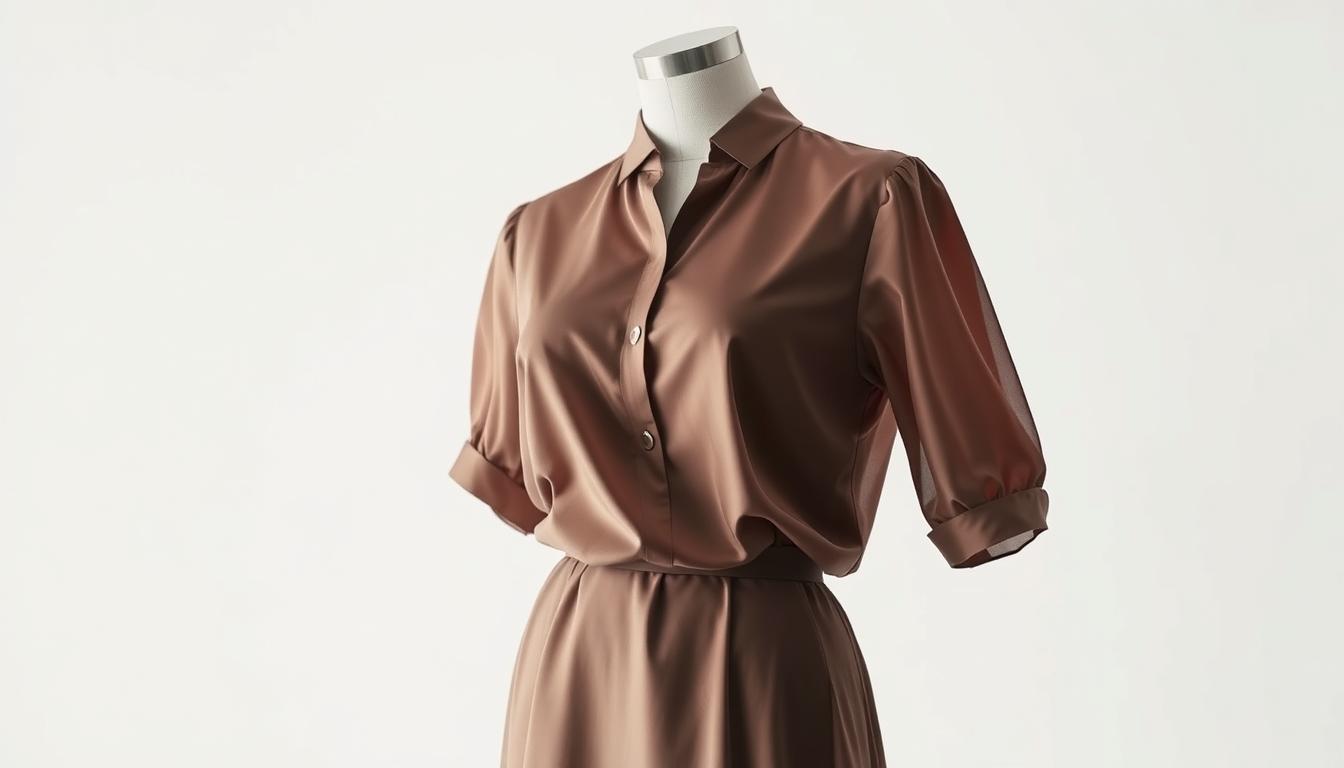
Ghost mannequin effect basics for modern product photos
A clean, hollow presentation keeps the focus on fit and fabric, not on props or backgrounds. This technique makes apparel look worn while removing the visible form so shoppers see shape and structure clearly.
What this effect is and why it boosts sales
The effect shows clothing as if worn, but without a visible body. Shoppers read shape, collar lines, and sleeve openings faster. That clarity improves confidence and helps conversion on product pages.
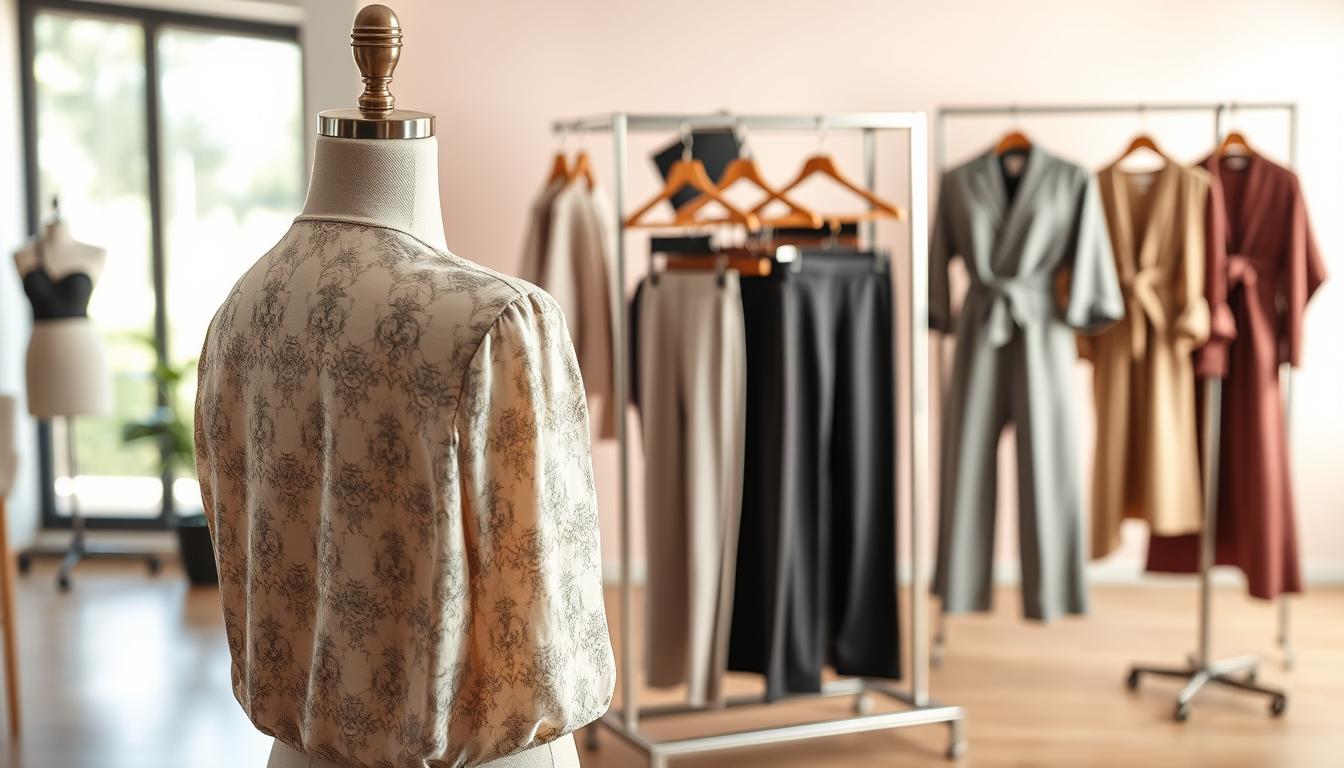
Typical use cases for clothing and accessories
- Retail shirts, hoodies, and dresses that need clear geometry.
- Bags and accessories where Pixelcut users report “perfect results” and pro outputs.
- Catalogs and marketplaces where consistent presentation beats lifestyle clutter.
How it improves drape, detail, and fit visibility
Removing distractions reveals seams, collars, and interior structure. The clean look shows fabric drape and garment geometry better than flat lays or busy on-model images.
| Benefit | What to expect | When to use |
|---|---|---|
| Fit clarity | Visible shoulder, chest, and waist lines | Shirts, jackets, dresses |
| Detail visibility | Seams, collars, linings are clear | Premium or tailored items |
| Catalog consistency | Uniform crop and polish across listings | Large catalogs and marketplaces |
Why brands choose ghost mannequin AI instead of traditional studio shoots
Brands are shifting from full studio shoots to upload-based editing because it cuts costs and speeds listings to market.
Lower production costs: Traditional studio days often start at $500–$2,000. Add model fees, studio rental, and reshoots and expenses rise quickly. A digital tool replaces many of those line items and reduces per-image spend.
Faster turnaround: Services report same-day results with a typical 1–3 hour delivery window. That speed supports rapid merchandising and frequent catalog updates without long waits.
Less gear and coordination
Standard shoots need lighting, wardrobe prep, model booking, and studio time. That creates scheduling friction and added labor.
By contrast, an upload-based workflow removes most on-set complexity and shortens production time.
| Factor | Studio shoots | Upload-based workflow |
|---|---|---|
| Typical cost | $500–$2,000 per day + extras | Lower per-image cost, subscription or credits |
| Turnaround | Days to weeks | Same-day; typical 1–3 hours |
| Logistics | Models, studio, lighting, reshoots | Simple uploads, minimal coordination |
| Post-production | Hours of manual editing | Automated edits reduce bottlenecks |
Efficiency gains let small businesses compete with larger marketplaces. Reduced dependency on photographers, mannequins, and studios keeps product listings fresh and consistent without enterprise budgets.
How AI turns mannequin images into professional ghost mannequin images
A short automated pipeline takes raw garment shots and delivers consistent, professional product images. Teams upload base photos, the PixFocal system processes them, and finalized files are ready to download. The three-step flow is simple and repeatable.
The simple workflow: Upload → AI Process → Download
Upload your front, back, and close-up photos using the PixFocal interface. AI Process runs automated editing, and Download gives marketplace-ready exports, typically within 1–3 hours.

What happens behind the scenes
The system isolates the garment, removes visible mannequins and models, then rebuilds missing interior areas to create a hollow-body presentation. This reconstruction preserves drape, collars, and seams for realistic, e-commerce-ready output.
Expectations and pipeline fit
Expect product images optimized for listings; input quality affects final results. PixFocal guarantees at least one professional-quality image per order and prioritizes quality. Use the exports with your brand background rules, cropping templates, and naming conventions to keep catalog consistency across SKUs.
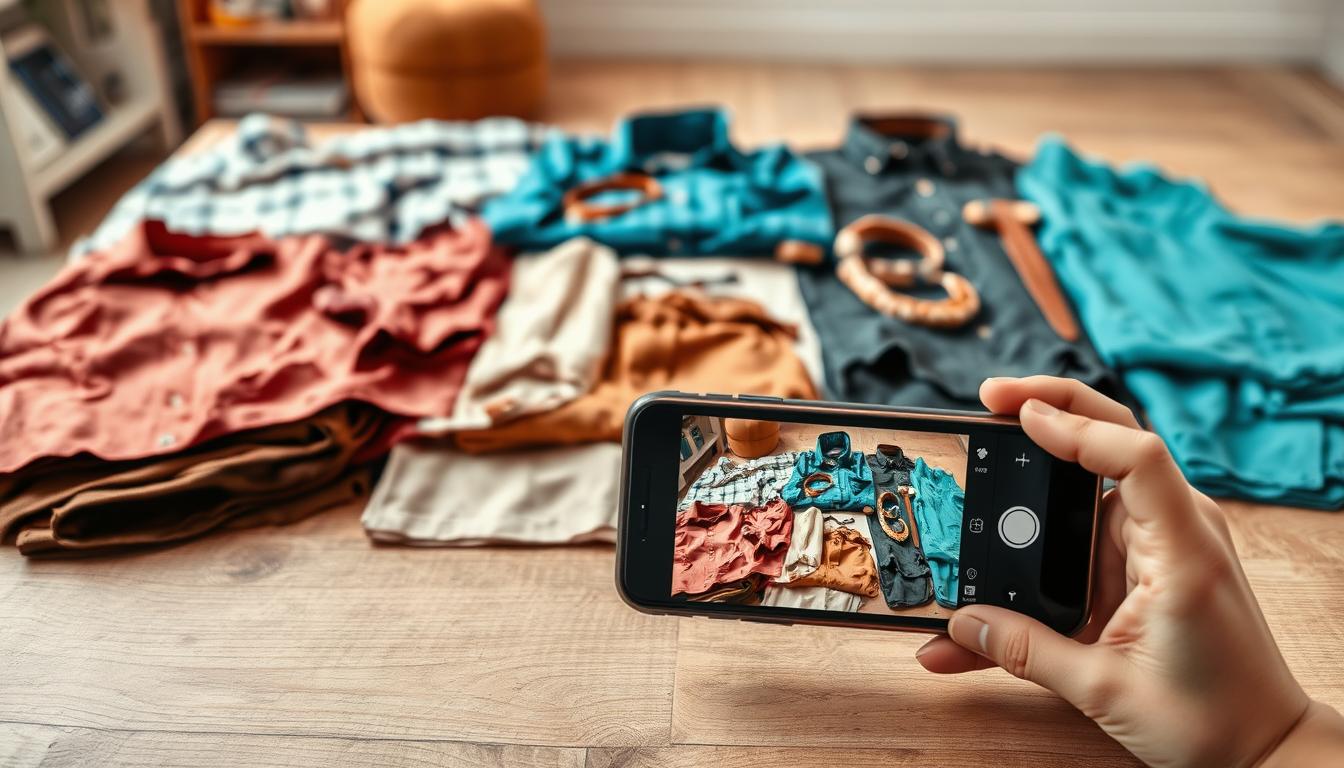
What you need to upload for the best ghost mannequin image results
Good input photos let editing tools reconstruct collars, seams, and hems accurately.
Start with clean, focused shots. Upload in-focus photos of the item on a mannequin or model with minimal obstructions. Keep tags, hangers, and pins out of the frame so the system can find garment edges reliably.
Photo capture tips for cleaner necklines, collars, and sleeves
Keep the neck area unobstructed and centered. Avoid scarves or accessories that hide collar shape.
For sleeves, allow separation from the torso. Do not pin fabric into unnatural folds. Show cuffs and seams clearly for accurate reconstruction.
Lighting, background, and color consistency for apparel photography
Use soft, even light to preserve fabric texture and reduce edge artifacts. Avoid harsh shadows that change collar or drape shape.
Choose simple, uncluttered backgrounds. Neutral backgrounds speed masking and limit color spill. Keep white balance consistent so color matches across product photos.
Angles and shots that improve garment detail and reduce artifacts
Shoot straight-on front and back shots for overall structure. Add close-ups of collars, plackets, hems, and tricky seams.
Include a three-quarter or interior shot for layered items to help the system rebuild hidden geometry.
When to use front/back/close-up images for better reconstruction
Use front/back images for basic garments. Add close-ups when collars, linings, or textures matter. Complex shapes and layered clothing benefit from extra shots.
| Upload type | Why it matters | Recommended shots |
|---|---|---|
| Base structure | Defines fit and silhouette | Front, back (straight-on) |
| Neck and collar | Preserves collar shape and opening | Close-up front, angled collar shot |
| Sleeve and cuff | Ensures accurate armhole and cuff detail | Side views, detail close-up |
| Texture and color | Maintains true fabric color and surface | Macro shots with neutral background |
Quality and realism standards for marketplace-ready product images
High-quality product images hinge on believable shape, clean edges, and faithful color across every SKU. Use a short checklist to confirm that each output meets marketplace rules and brand expectations.
How to evaluate edges, drape, and shape
Inspect hems and sleeve edges for crisp masking. Ragged or feathered borders signal extra editing.
Check internal negative space so the hollow area looks natural and not clipped. Look for smooth, continuous drape that follows fabric weight.
Verify shoulder symmetry, collar continuity, and consistent garment proportions across sizes and colorways.
Keeping color and texture true-to-life
Use consistent lighting and a reference swatch to avoid color shifts. Compare exports to the original photos to catch any hue changes.
Inspect knit patterns, stitching, and fabric grain. Over-aggressive reconstruction can smear texture; reject images that lose detail.
Catalog consistency and studio-like presentation
Set standard crop ratios, spacing, and a uniform background style that aligns with platform specs.
Light studio quality is achievable without a full studio if capture and editing standards are followed: even light, neutral background, and reliable editing presets.
- Must-have checks: clean edges, natural drape, accurate shape, true color, intact texture, and consistent crop.
Turnaround time, scalability, and resource planning for e-commerce teams
A predictable turnaround is the backbone of fast product launches. A same-day service with typical 1–3 hour delivery shrinks the gap between receiving inventory and publishing listings.
Batch processing for seasonal drops and new arrivals
Batch photos by SKU group and process them together to keep launch timelines predictable. Teams schedule captures, then send grouped uploads so the tool returns consistent results in blocks.
Reducing manual editing hours in post-production
Less manual editing means fewer bottlenecks. Automated workflows cut post-production hours and let staff focus on merchandising, SEO, and ad creative instead of repetitive retouching.
Practical resource plan:
- Assign in-house capture to a small crew for consistency.
- Centralize processing and quality review to one team.
- Triage complex garments—allow extra review time for layered or intricate items.
| Benefit | How to plan | Outcome |
|---|---|---|
| Faster listings | Batch uploads | Reduced time to market |
| Lower editing load | Automated processing | Staff redeployed to growth tasks |
| Scalable output | Consistent capture rules | Reliable results across SKUs |
File formats, resolution, and platform delivery for product photos
Choosing the right file type and resolution ensures zoom-ready detail without bloated pages. Use a clear export plan so each marketplace gets the correct image and file weight.
Supported upload and export formats
JPG is the go-to for final listings: small file size and broad compatibility.
PNG is best when transparency is required, such as a cutout image with no background.
HEIC preserves quality at lower size for mobile workflows and modern capture devices. Convert to JPG/PNG for broad platform use.
Resolution and platform delivery
Produce high-resolution images that allow zoom without visible artifacts. Aim for 2000–3000 pixels on the longest edge for Amazon and Shopify zoom functions.
Match each platform’s rules: clean backgrounds, consistent framing, and correct crop ratios for Amazon, Shopify, and eBay. Exports should follow those specs to avoid listing rejections.
| Format | When to use | Effect on page |
|---|---|---|
| JPG | Final product photo | Smaller files, fast load |
| PNG | Transparent cutouts | Larger file, supports alpha channel |
| HEIC | High-quality master capture | Good compression; convert for web |
Handoff best practice: keep a master high-res image and generate platform-specific derivatives to protect quality and speed up pages. Proper naming, consistent folders, and an export checklist cut rework and keep listings live.
Proof, pricing, and ownership: what to look for in an AI ghost mannequin service
Focus on objective metrics—output totals and customer numbers—to judge vendor maturity. These figures show the provider has processed real product catalogs at scale and handled varied requests.
Trust signals that matter
102,207 AI ghost mannequins created for 3,892 happy customers
Why it matters: volume and customer count indicate operational stability. Also look for endorsements from brands and business case studies showing consistent, professional product results.
Pricing expectations and plans
Entry plans commonly start around $29/month (about 40 credits). Credit systems map to image volume: one credit per image or small bundles for bulk uploads.
Estimate credits needed by catalog size and reshoot rates. Compare monthly plans, pay-as-you-go, and enterprise offers for high-volume needs.
Commercial rights, privacy, and guarantees
Verify that you retain full commercial rights and ownership of final product images for marketplace listings and ads.
Confirm privacy rules: uploaded photos should be processed only for your job and not reused to train models or shared with other customers.
Risk reduction and buyer questions
Look for a clear money-back policy tied to a defined quality metric. For example: a 100% Money-Back Guarantee if at least one product-ready image is not delivered.
- Ask: What quality is guaranteed and how is “product-ready” defined?
- Ask: What input shots do you need and what consistency can be expected across SKUs?
- Ask: How are disputes and rework handled and within what time frame?
| What to check | Why it matters | Example |
|---|---|---|
| Output volume | Shows scale and reliability | 102,207 processed images |
| Customer base | Indicates trust from other brands | 3,892 customers |
| Pricing model | Predicts cost per SKU | $29/month starter (40 credits) |
| Ownership & privacy | Protects rights and IP | Full commercial rights; uploads not reused |
| Guarantee | Reduces purchase risk | Money-back if no product-ready output |
Consistent, professional-looking mannequin images improve customer trust and conversion. Use the questions above to compare vendors and pick a partner that matches your quality and scale needs.
Conclusion
A repeatable workflow makes it simple to transform raw shots into marketplace-ready apparel images.
Practical value: the ghost mannequin effect speeds production, cuts complexity, and gives product photos a consistent, professional presentation for online stores.
Decisions that matter are straightforward: capture clean input photos, standardize shooting and crop rules, and keep a firm review step to catch reconstruction issues.
For clothing and fashion sellers, clearer fit and structure reduce buyer uncertainty and can boost sales by showing how items hang and move.
Start small: test the workflow on a handful of SKUs, validate results, then scale by batches. Consistent catalogs come from repeatable processes—uniform backgrounds, exact cropping, and export presets across all product photos.