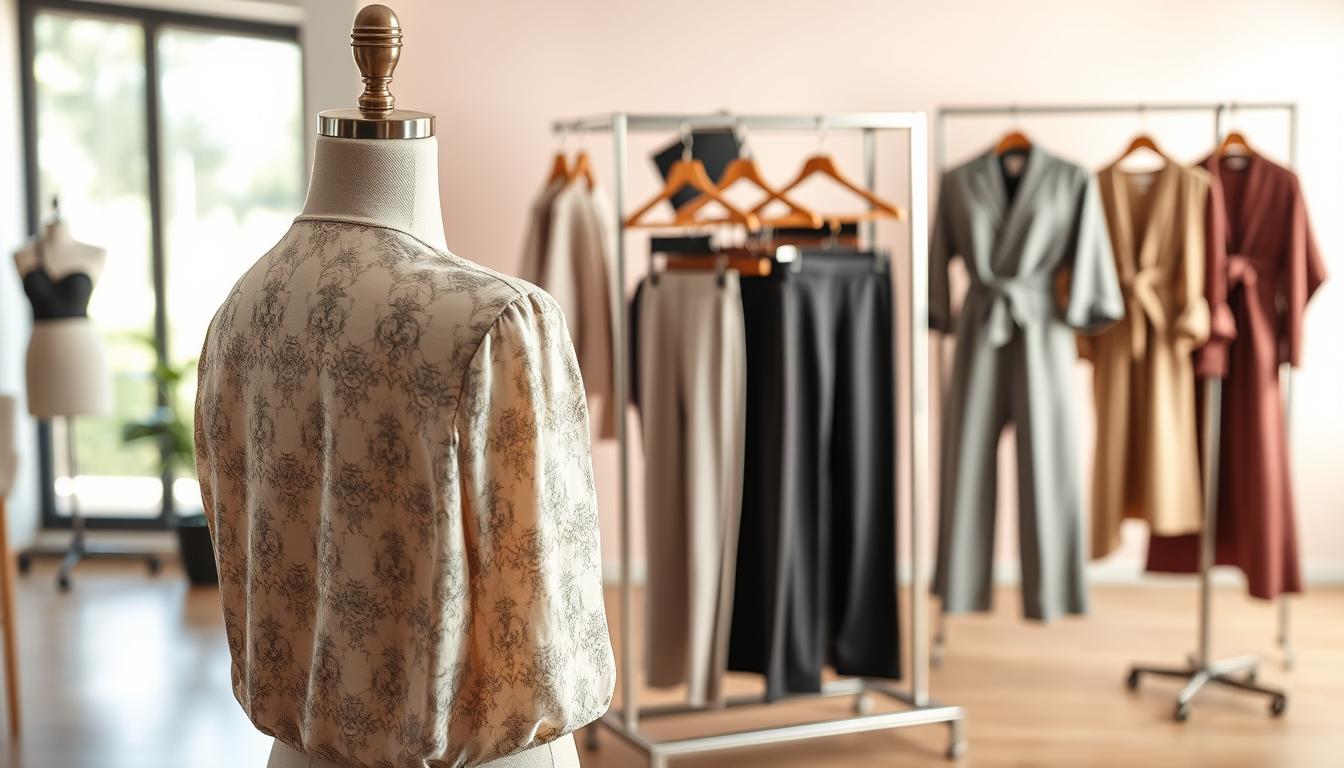
Harsh shadows on garments and backdrops make listings look inconsistent and can hurt buyer trust. This short guide frames a practical, prompt-driven approach you can use to clean up shadowed areas in clothing images for U.S. e-commerce and social media.
The goal is clear: lift dark patches, keep fabric texture, and keep results believable. Modern tools can detect shadow areas, refine tones, and preserve natural highlights so garments still look real.
Expect to learn which shadow types cause trouble, a step-by-step workflow for automated cleanup, and best practices for lighting and finishing. The guide also covers a feature checklist, recommended tools, and when it’s better to keep some shadow for depth.
Use case: turn inconsistent shoot results into marketplace-ready product images in minutes, not hours, so your listings and social media posts look polished and trustworthy.
Key Takeaways
- Harsh shadow cleanup boosts perceived quality and accurate color.
- Automated workflows detect shadow areas and preserve texture.
- Follow lighting and finishing tips to avoid an over-edited look.
- Recommended tools and a feature checklist speed up e-commerce prep.
- Keep soft shadows when they add realistic depth to garments.
Why harsh shadows ruin clothing product images
Uneven lighting casts dark pockets across sleeves, hems, and studio walls. These distracting areas make a shoot look like a quick home setup rather than a polished listing.
Background shadows pull focus away from the garment. When a backdrop is meant to be clean white or even gray, any dark band lowers clarity and makes images feel inconsistent.
How uneven light creates distracting dark areas
- Direct sun, a single overhead lamp, or an unsoftened flash produces harsh shadow zones on fabric and backgrounds.
- Shifts along hems, under collars, and inside folds hide shape and fit details that buyers need to see.
What shadows do to color, texture, and perceived quality
Dark areas can shift color tones, making blacks look crushed and whites appear dingy. That difference raises returns when buyers get a mismatched item.
Shadows also mask weave, ribbing, and stitch details. Loss of texture reduces perceived quality and makes garments look flatter and cheaper.
Why consistent lighting matters for e-commerce and social media
Uniform images help shoppers compare variants and build trust. Marketplaces favor consistent listings because they aid scanning and increase conversions.
Controlling harsh shadow is a practical way to reach studio-like results without reshooting every item.
Common shadow types you can remove with AI
Understanding common shadow varieties makes targeted corrections faster and more reliable. Below are the typical kinds you’ll encounter in apparel shoots and quick ways to think about them.
Hard shadows vs. soft shadows
Hard shadows have crisp edges and high contrast. They often result from direct sun or a single lamp placed too close.
Soft shadows have feathered edges and lower contrast. Even soft shading can make some listings look heavier or darker than others.
Cast shadows vs. attached shadows
Cast shadows fall onto a background or nearby surface — think hanger outlines on a wall. Attached shadows darken the garment itself, like folds, seams, or under collars.
Attached areas are trickier; the goal is usually to reduce harshness while keeping shape and fabric structure intact.
Double shadows and mixed light sources
Multiple lamps or window plus overhead light can create overlapping edges and color casts. These cases often need selective prompts or brush work.
- Examples: a mannequin leg casting on the sweep, a sleeve across a torso panel, or hanger lines on a backdrop.
- Modern shadow remover workflows detect these areas, then reconstruct tone and texture for consistent images.
AI remove shadows product photo with a prompt-based workflow
A simple prompt-driven process turns uneven lighting into consistent, marketplace-ready images fast.
Quick workflow:
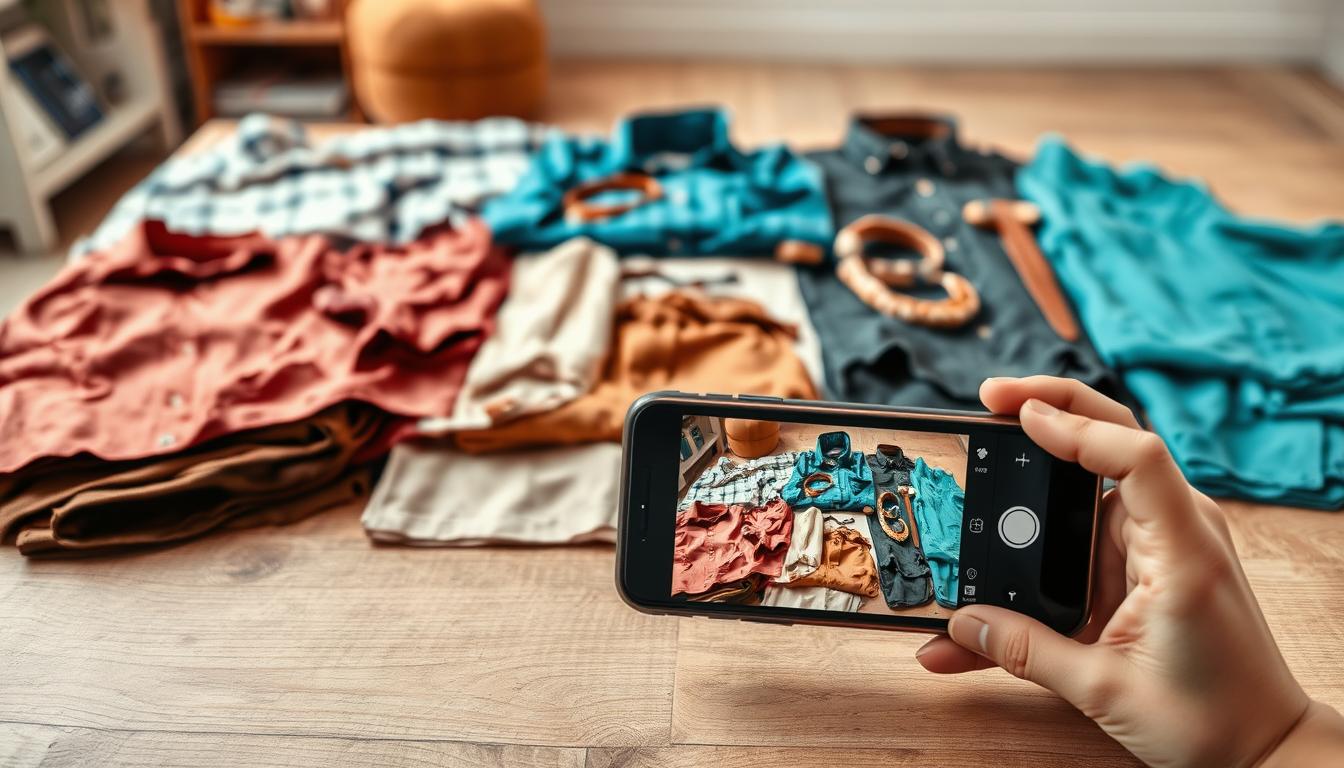
- Upload a JPG or PNG from your shoot into a browser editor. Use the largest export you have for best detail.
- Enter a short prompt such as “remove shadows from photo,” “clean background shadows,” or “even out lighting on fabric.”
- The shadow remover scans the image, finds dark areas, lifts local exposure, and balances tone while keeping fabric texture.

Iterate, time, and export
If the first pass looks too flat or leaves a patch, send a focused second prompt for the specific background or garment area. Many tools deliver usable shadow removal results in seconds, which speeds catalog work.
When you’re satisfied, download a high-resolution file ready for web, marketplace listings, or print. This simple process keeps editing accessible and preserves visual quality for listings and social pictures.
Best practices before you run shadow removal
Good results start with the right file, white balance, and a clear choice about the final look. These quick checks limit surprises and preserve small apparel details during editing.
Start with the largest image size available
Work from the highest resolution you have. Large files keep stitching, embroidery, and weave visible. They also reduce artifacts when the editor lifts dark areas.
Higher resolution helps the tool reconstruct cleaner tone and protect fine elements like buttonholes and hems.
Check white balance and product colors before editing
Confirm color temperature and compare colors to a real garment or brand swatch. Incorrect white balance becomes more obvious after edits.
Validating against a reference prevents mismatched listings and keeps buyer expectations accurate.
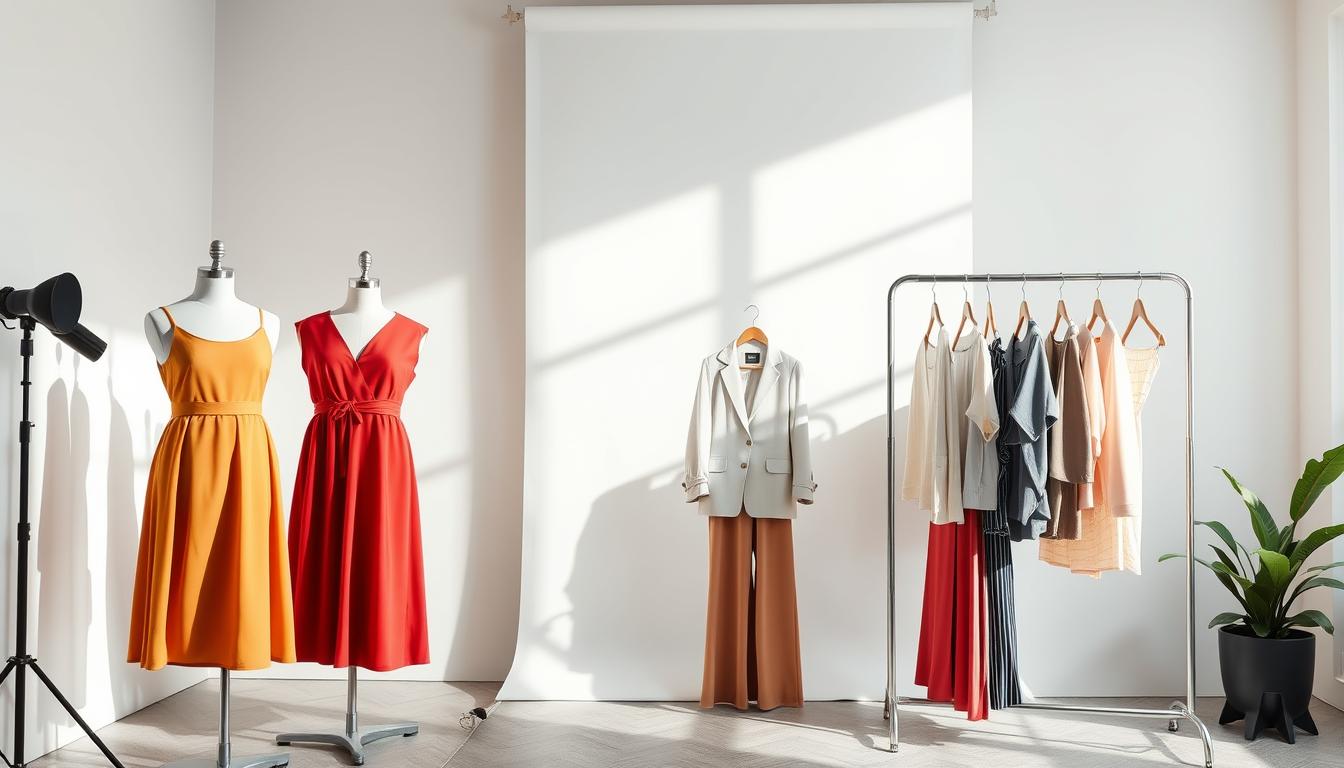
Decide on fully flat or softer, natural shadow
Choose a look up front: fully shadow-free for a catalog feel, or softer, natural shadow to keep depth and realism.
Marketplaces often favor consistent lighting. But overdoing a flat look can make garments seem cut out and less believable.
- Test one hero image first, then apply the same approach across other images for consistent results.
- Use high size originals to avoid compression artifacts and visible noise in lifted areas.
- Keep a master file with original elements before final editing and export.
| Pre-edit step | Why it matters | Quick action |
|---|---|---|
| Large file size | Preserves small details and reduces artifacts | Use original exports or RAW where possible |
| White balance | Affects true color and final look | Adjust temperature; compare to swatch |
| Aesthetic choice | Controls realism vs catalog cleanliness | Decide full or soft shadows; test on one image |
| Quality control | Ensures consistent results across photos | Create a master and batch settings |
Tool features that matter for clean, natural shadow removal results
Choose editors that protect fabric detail while correcting uneven lighting. The right set of features keeps weave, knit patterns, and seams intact. That preserves perceived quality and reduces reshoots.
Precision shadow removal that keeps texture and weave
Precision means selective lifting, not blanket smoothing. A shadow remover should reduce dark bands while keeping texture and stitch detail. That prevents smearing or plastic-like finishes.
Color and tone recovery to avoid muddy patches
Good tools rebuild local color after lifting. This step prevents gray or desaturated areas and protects true garment color for accurate listings.
Selective controls and batch processing
- Brush-based erasing: target under collars, between straps, and inside sleeves.
- Batch processing: process catalogs and seasonal drops with consistent settings.
- Background tools: remove or replace backgrounds for studio-white or lifestyle contexts.
| Feature | Why it matters | Outcome |
|---|---|---|
| Precision controls | Protects weave and edges | Higher image quality |
| Color recovery | Restores true tones | Accurate listings |
| Batch & background | Speeds editing at scale | Consistent product images |
Recommended AI shadow remover tools for product and clothing photos
Below are practical tool options, grouped by how teams prefer to edit and export marketplace-ready images.
CapCut Web — browser prompt editor
CapCut Web works in a browser. Upload your file, type a short prompt to lift dark areas, then export at chosen resolution. It also offers background replacement, filters, and resizing for quick social or marketplace use.
Dresma — e-commerce batch workflows
Dresma is built for catalogs. Use batch editing and automatic enhancement to keep listings consistent. Background customization and tone controls help teams push many images through the same work pipeline.
LightX — precision brush controls
LightX adds selective erasing and fine-grain tools. It distinguishes shadow types so you can target only the unwanted areas while keeping weave and seams intact.
Media.io AniEraser, Canva, PhotoAid, insMind
- Media.io AniEraser runs on web, desktop, and mobile to clear unwanted cast areas and small objects while preserving quality.
- Canva Magic Eraser is great for creators who edit listings and ads inside a design suite with a simple brush workflow.
- PhotoAid gives fast, one-click even-light corrections useful for strict, evenly lit images.
- insMind Shadow Remover is device-friendly and handles hard, soft, cast, and attached shadow types with a gentle finish.
Pick the right tool for your workflow—browser prompts, batch catalog work, or precision brush control—to save time and get consistent results across images and media.
How to get studio-quality clothing photos after shadow removal
Finish edits with care so garments retain depth, texture, and a natural presence on the backdrop. Start by checking overall tone and then focus on small areas that editing tools often miss.
Refine lighting balance so garments don’t look flat
After automated correction, selectively tweak local contrast and midtones. Aim for an even lighting that still shows form around sleeves, collars, and drape.
Protect edges, seams, and small details
Inspect hems, buttons, zippers, lace, and stitching at 100% zoom. Use a soft brush to restore any blurred edges or light halos.
Match background brightness and clean leftover dark areas
Keep background brightness consistent across sets. Look behind hangers, near the floor line, and around props for small dark areas and fix them with local adjustments.
Export settings for sharp marketplace-ready images
- Keep adequate size for zoom; export large JPG or PNG files for product photos.
- Preserve sharpness and consistent color profile across images.
- Save a repeatable export preset so pages, ads, and social photos share the same look.
| Check | Action | Why it matters |
|---|---|---|
| Edges & details | Zoom and refine | Protect realism |
| Backgrounds | Match brightness | Catalog consistency |
| Export | Use preset | Repeatable quality |
When you should not remove shadows from images
Not every dark area in a frame is a flaw. In many shoots, shadows define form and give a garment a believable, three-dimensional look.
Keep depth and texture: For structured items like jackets, shoes, and bags, a full erase can make the piece look weightless and flat. Those natural cues help viewers judge fit and fabric details.
Mood and authenticity: Editorial or streetwear work often relies on contrast to set tone. Intentional shadow can add drama and reinforce a brand’s visual language on social media and in other media.
Composition and guidance
Shadows can frame a subject and guide the viewer’s eye to important details. If the tone supports focal hierarchy, reduce it lightly rather than erase it.
Practical rule: If a shadow changes perceived color or hides condition, correct it. If it adds depth without distraction, preserve or soften it to maintain realism and a natural look.
| Situation | Action | Why |
|---|---|---|
| Grounding shadow under item | Keep soft | Shows placement and scale |
| Harsh background band | Clean or soften | Removes accidental distraction |
| Editorial contrast | Preserve | Maintains mood and brand look |
Prevent harsh shadows in future clothing shoots
A repeatable lighting setup prevents uneven tones and saves editing time. Plan your shoot so images are consistent across a catalog. That lowers the need for heavy edits and keeps final quality high.
Use soft, even light instead of direct overhead fixtures
Diffuse light—softboxes, umbrellas, or indirect natural light—reduces harsh contrast on fabric. Avoid a single bare lamp that casts deep lines on sleeves and hems.
Increase subject-to-wall distance
Move the garment or mannequin away from the background so cast shadows fall out of frame or soften before they hit the backdrop. This creates a cleaner studio sweep and steadier backgrounds.
Use reflectors or bounce light to fill dark areas
White foam boards, reflector discs, or a second soft source help lift shadowed areas under collars, inside folds, and near seams. Fill light preserves texture without flattening the form.
Adjust camera and light angles to minimize cast shadow
Shift the key light and camera slightly off-axis to cut direct cast lines and reduce double shadows from mixed sources. Avoid midday sun, a lone overhead bulb, or an undiffused flash too close to the subject.
- Practical tip: Lock a repeatable setup and test one hero shot, then apply the same arrangement across all shots for a uniform look.
Conclusion
A clear, repeatable routine, paired with careful review, delivers consistent e-commerce and social media images that convert.
Start with high-resolution source files, use concise text prompts to remove shadows once, then inspect and refine so garments keep depth and texture.
Decide case-by-case: correct distracting cast areas but preserve or soften intentional shading that shows form and scale.
Pick a workflow that fits your team — prompt-based convenience, batch processing for catalogs, or fine brush controls for precision — to speed work and save time.
Execution tip: improve lighting on set and run a fast edit pass that takes seconds for most images. Test the method on one set, standardize prompts and export settings, then scale to the rest of your product images and product photos for consistent, high-quality results.