
If your apparel listings fail to show true color, texture, or fit, smart tools can only do so much. In the U.S., shoppers scroll quickly and rely on visuals before price, shipping, or reviews. Global e-commerce hit $5.8 trillion in 2023 and keeps rising, so every image affects conversions and returns.
“AI can’t fix” means edits cannot recreate details that were never captured: wrong color, soft focus, missing angles, or poor coverage. That gap breaks trust and drives lost sales and higher returns when apparel looks different in hand than on screen.
This guide previews seven common issues—planning, coverage, lighting, color, exposure, sharpness, and background/styling/angles/prep/resolution—and links each to a clear buying hesitation like fit or fabric clarity.
What to expect: each section explains the issue, why it hurts conversions, what AI won’t solve, and a simple workflow any small seller can repeat. Keep a product-first rule: focus on accurate listings that help customers decide, not just trends for social marketing.
Key Takeaways
- Bad visuals erode trust and raise return rates.
- AI cannot invent accurate color, texture, or missing details.
- Seven fixable areas map to common buying doubts.
- Simple, repeatable workflows beat heavy editing later.
- Keep the item first—clarity sells more than style alone.
Why clothing product photos fail in e-commerce, even with AI tools
Shoppers judge garments in seconds, so visuals must communicate truth, not just style. Poor capture creates gaps that no editor can reliably fill.
Visual content as a conversion driver in today’s online-first shopping environment
Clear images drive confidence. When customers see consistent angles, accurate color, and fabric detail, they decide faster and buy more.
Apparel is especially vulnerable: buyers infer fit, drape, opacity, and texture from stills. Missing cues lower conversion and increase browsing time, which raises bounce rates.
“Visual clarity is the first trust signal for online shoppers.”
How inaccurate images increase returns when the item arrives looking different
About 64% of e-commerce returns link to differences between what’s shown online and what arrives. Returns add shipping costs, customer service work, and reputation risk for your business.
- “Prettier” edits can boost appeal but still mislead; customers want truer-to-life views.
- Shoppers compare your product photography against competitors in real time; inconsistency stands out.
- Most failures are process problems—planning, setup, and repeatability—rather than just editing skill.
Product photo mistakes that start before you even pick up the camera
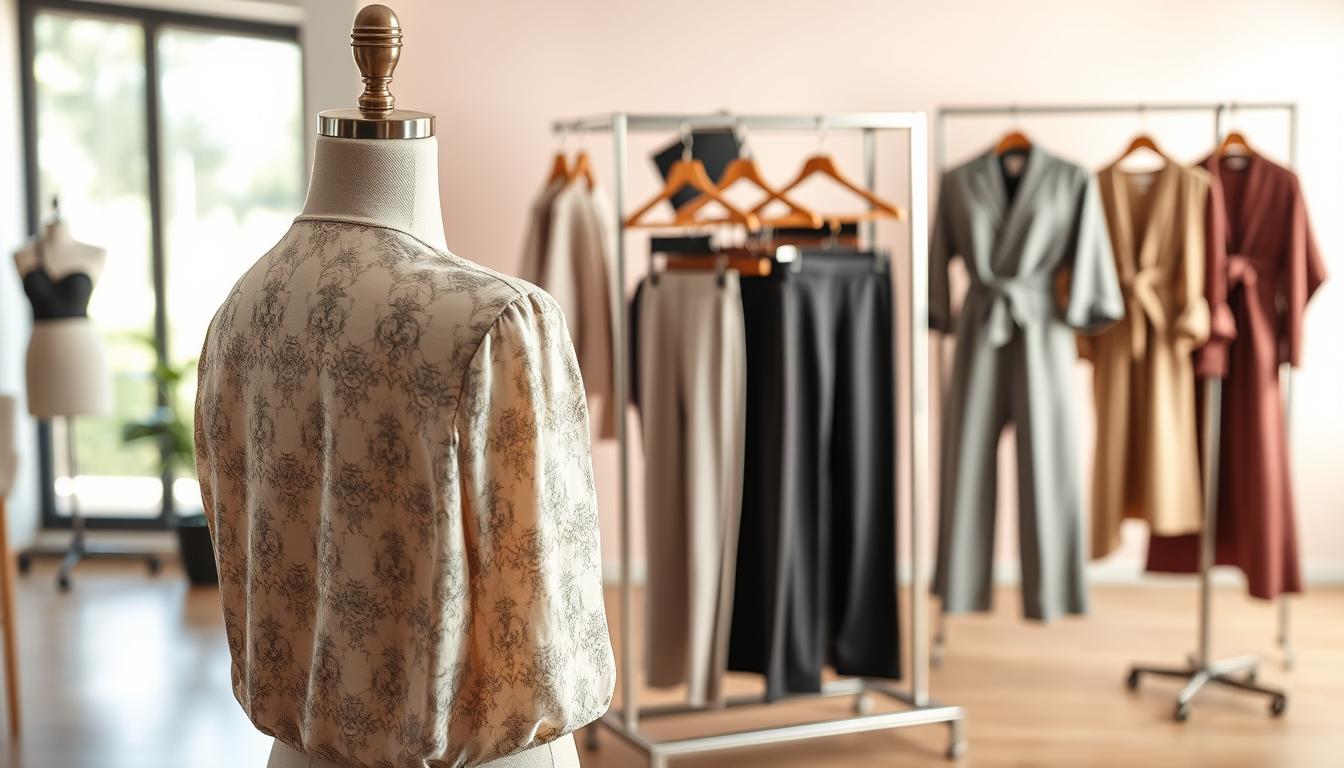
A simple plan and a quick sketch save hours in editing and keep your catalog coherent. Professional educators stress pre-visualization: even a rough checklist helps define composition, lighting, and which product features must be visible.
Skipping a shot plan and pre-visualization leads to inconsistent results
Create a short shot plan before the shoot. Define a hero image, required angles, and close-ups for seams, closures, and labels.
Sketch or list the frame for each shot. That prevents random framing that forces uneven cropping and poor catalog flow.
Forgetting the goal: make the product the hero, not the scene
Make sure composition, background, and lighting direct attention to the garment. Avoid props or expressions that steal focus.
- Document a repeatable setup: camera height, distance, lens choice, and mannequin placement.
- Adopt a product-features mindset: plan which features must appear—pockets, seams, lining, stretch.
- Remember AI can tidy edits, but it cannot invent accurate silhouette, construction details, or branding if you never captured them.
“Plan your shots so the item tells its own story—consistency builds trust.”
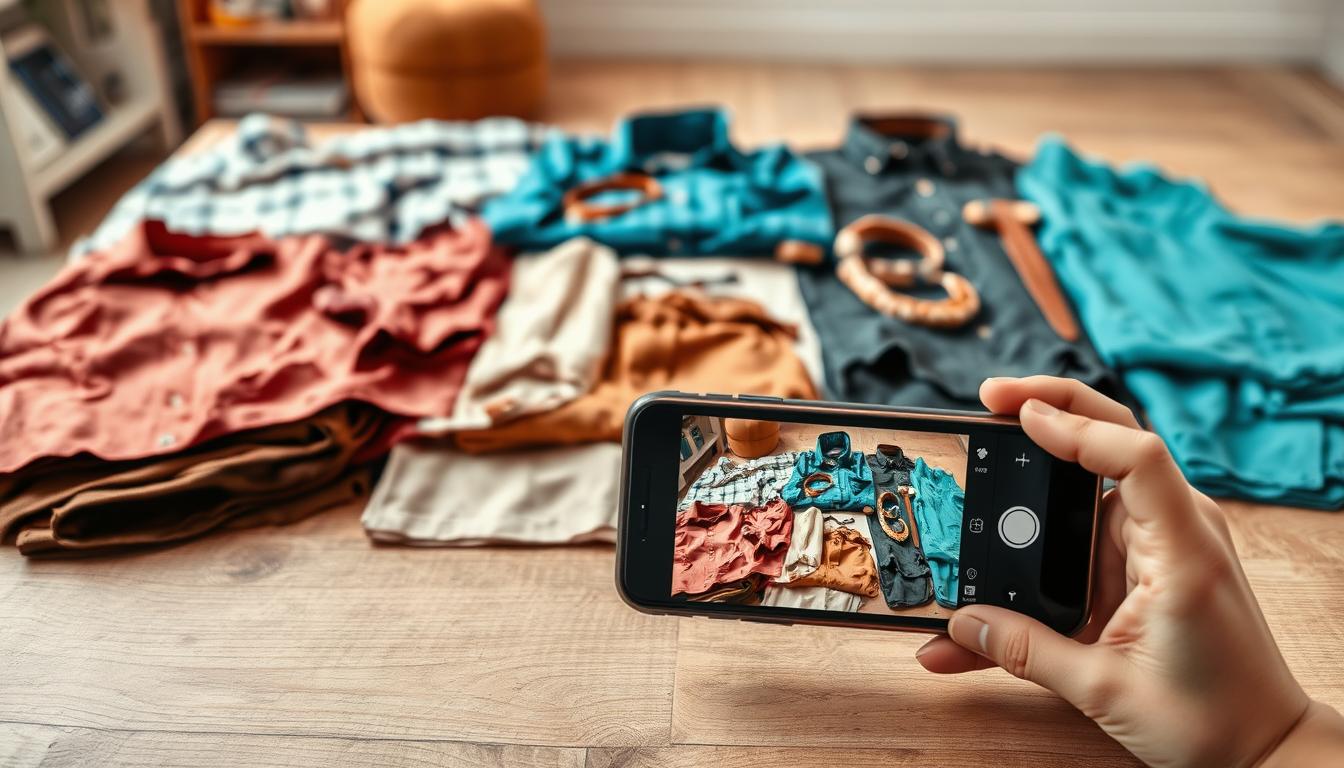
Too few product photos to answer what customers need to see
One image forces guesses; multiple views give buyers the facts they need. Apparel demands context: silhouette, drape, and fabric look change with each view. When listings show too little, customers hesitate and abandon carts.
Why multiple angles matter
At minimum, shoot front, back, side, and a flattering 45-degree hero. That mid-angle shows shape and fit better than a straight-on view. Include both left and right poses when asymmetry matters.
Close-ups that reduce uncertainty
Add 2–3 tight images for texture, seams, closures, and labels. Capture stitching, hems, buttons or zippers, and any special finish. These details let shoppers verify build quality and accept higher pricing when justified.
Keep a consistent catalog look
Consistency builds trust. Use the same crop, spacing, background, hero angle, and lighting across products so the line feels cohesive. Every shot should answer a buying question: show product from behind, how the fabric reads, or whether it is sheer.
“No editor can invent a back view or true drape—shoot it upfront.”
Lighting problems that create harsh shadows and flatten fabric texture
Lighting shapes how fabric reads; get it wrong and texture, drape, and color can vanish.

Bad light hides what shoppers care about. Texture, weave, and the way a garment falls all suffer under harsh contrast or dim fill. Uneven illumination makes the same item look different from one listing to the next.
Common DIY errors and why they matter
Backlighting can silhouette a garment and remove surface detail. Hotspots on shiny trims create distracting reflections. Deep, muddy shadows swallow seams and hide stitching.
Simple natural light workflow
Shoot near a large window and use a sheer curtain or diffusion panel to soften the light. Place a white foam board opposite the window as fill to reduce shadows and reveal texture.
Locking a repeatable setup for batch shoots
Test angles and record distances, then keep the same layout for every item. Consistent light produces consistent results and cuts retouch time.
Separation with rim or edge light
Add a subtle rim light or shift the key light to create an outline between the garment and the background. That separation improves perceived depth without heavy editing.
AI can reduce shadows, but it can’t reliably restore lost texture or remove severe lighting artifacts without risking unnatural results.
| Issue | DIY Fix | Expected Result |
|---|---|---|
| Backlighting | Move subject toward window, add fill board front | Visible weave and accurate drape |
| Hotspots & reflections | Diffuse light, angle off glossy elements | Even highlights, fewer specular reflections |
| Muddy shadows | Use reflector or soft fill; open aperture slightly | Clear seams and consistent tonal range |
Incorrect white balance and color casts that misrepresent the garment
When neutrals shift, every hue that follows looks wrong to customers. Apparel buyers scan shade and undertone fast. If an image shows a pink as orange, trust drops and returns rise.
Why color accuracy matters
Shade and undertone are decision drivers. Shoppers use small cues to judge fabric and fit. Inaccurate color harms conversion more than a minor crop or filter.
What white balance does in plain terms
White balance sets neutral tones—whites, grays, blacks. If it’s off, every color shifts. That makes the same garment look different under varied lights.
- Mixed lighting examples: daylight by a window plus warm indoor bulbs, or LEDs of differing temperatures. These create uneven casts across fabric.
- Fix: pick one light type, switch off other sources, and set a custom white balance with a gray card or a controlled preset.
- Remember dye variance exists. Represent the actual run, not an averaged or prettified hue.
Editing can correct small shifts, but it cannot reliably guess true color when scenes contain multiple, conflicting light sources.
| Problem | Quick Fix | Result |
|---|---|---|
| Mixed daylight + warm bulbs | Turn off bulbs or block daylight; use single-source lighting | Uniform color across the garment |
| Camera auto white balance | Set custom WB with gray card or Kelvin preset | Accurate neutrals and reliable color |
| Pastels and creams | Use neutral background and verify with printed swatch | True-to-life undertone, fewer returns |
Wrong exposure that erases fabric details in highlights and shadows
Correct exposure is about detail preservation. Clothing must show texture in bright areas and depth in dark folds to read as real and premium online.
What overexposed images hide
Blown highlights erase weave and stitching. Bright areas can wash out true color and make delicate finishes look flat.
What underexposed shots hide
Crushed shadows hide silhouette, drape, and shape. When folds and seams fall into black, shoppers can’t judge fit or quality.
Basic control points for stable exposure
Use shutter speed, aperture, and ISO to protect details. Keep ISO low to avoid noise. Pick an aperture that keeps the whole garment sharp. Slow the shutter only when you use a tripod.
- Workflow: check the camera histogram; protect highlights for light garments and keep midtones so dark items show detail.
- Settings tip: expose to the right slightly for low-noise files, but avoid clipping highlights; bracket if unsure.
- Reality check: fixing clipped highlights or blocked shadows in editing often fails to recover true texture or color.
Consistent exposure across your catalog reduces returns and helps buyers trust what they see—avoid common mistakes by standardizing settings and checking histograms each time.
| Issue | Quick Fix | Expected Result |
|---|---|---|
| Overexposed highlights | Lower exposure, use ND or soften key light | Preserved weave and true color |
| Underexposed shadows | Raise exposure slightly, add fill reflector | Visible drape and silhouette |
| Noise from high ISO | Use low ISO, increase light, tripod for slower shutter | Clean images with retained detail |
Soft focus, motion blur, and camera shake that make your product look low quality
Blurry shots make even premium garments look low-end and untrustworthy to shoppers. Soft focus or motion blur erases weave, trim, and stitching—details buyers need to judge fit and finish. That loss cuts conversion and raises return risk.
Why a tripod improves sharpness and consistency across shots
Using a tripod stabilizes the camera and removes the most common cause of blur: hand movement. An inexpensive tripod can last for years and pay for itself in fewer reshoots and cleaner listings.
Basic stability kit: tripod, phone remote or camera timer, and marked camera placement to repeat framing every shot. This small setup reduces shutter-tap shake and keeps your workflow consistent.
Depth of field choices that keep the full garment clear
Set a wider depth of field so the whole garment—collar to hem—stays sharp. Pick a mid-range aperture (for many lenses f/5.6–f/11) and keep ISO low. If needed, add light or use a tripod for slower shutter speeds.
Focusing tips: use single-point autofocus on the garment’s most detailed plane (logo, texture, or seam) and double-check focus between items. Avoid relying on AI sharpening; it often creates artifacts that make fabric look unnatural.
“A stable, repeatable setup improves perceived quality without costly gear.”
| Issue | Quick Fix | Result |
|---|---|---|
| Missed focus point | Single-point AF on fabric detail; confirm on preview | Clear texture and true edge definition |
| Motion blur from slow shutter | Use tripod, raise ISO slightly, add continuous light | Sharp shots with preserved detail |
| Camera shake from shutter tap | Use remote or 2s timer; mirror lockup if available | Eliminated micro vibration and crisp edges |
Background mistakes that make clothing look cheap or hard to evaluate
Background choices set the first impression and can make or break how a garment reads online. The backdrop affects perceived price, edge clarity, and how accurately color shows. A messy or uneven scene reduces trust and forces extra editing.
Why pure white is the e-commerce standard
Marketplaces like Amazon and Shopify expect #FFFFFF as a default. Pure white reduces distraction and makes listings comparable across sellers.
When dark or colored backdrops backfire
Without pro lighting or retouching, dark tones can swallow hems, shift hues, and add noise in shadows. That makes garments blend into the frame and harms clarity.
Simple seamless setups that cut cleanup time
A quick DIY method: clip white vinyl or plastic to a table, then curve it up a wall to remove horizon lines. This creates a clean sweep for easy batch shooting.
- Benefit: cleaner images and faster batch processing.
- Edge care: keep garment edges free of haloing to avoid heavy masking.
- AI limits: automated background removal often fails on knits or fringe and can leave unnatural outlines.
| Issue | Quick fix | Result |
|---|---|---|
| Busy backdrop | Use white seamless | Focused listing, faster edits |
| Colored background warping hues | Switch to neutral sweep | Accurate color and less retouch |
| Fuzzy edges | Better lighting and proper distance | Cleaner masking, trusted listings |
“Clean backgrounds reduce doubt and speed up catalog production.”
Over-styling with props, filters, and effects that distract from the product
When listings get decorative, shoppers lose the cues they need to judge fit and finish quickly. For evaluation pages, clarity beats creativity. A white sweep and clean framing let key details speak for themselves.
How crowded compositions pull attention away from key features
Too many props, trendy filters, heavy grain, or fake light leaks all compete with the garment. These additions can hide closures, seams, and fit cues.
When shoppers can’t read a silhouette at a glance, hesitation and returns rise. Keep inspection images uncluttered so users can judge scale and fabric quickly.
When creative direction is better for marketing
Reserve bold concepts for ads and social feeds. Marketing images are about mood. Product listing images are about verification.
- Common over-styling errors: excess props, layered textures, color tints, and heavy film grain.
- Practical rule: if a prop doesn’t show scale, use case, or styling clarity, remove it.
- AI note: filters can unify a catalog visually, but they may distort color and texture and lead to more returns.
Keep listing pages functional and consistent; save creative sets for places where mood matters more than inspection.
Unflattering angles and positioning that distort fit and proportions
Angles change how a garment’s shape and fit read to a buyer, so framing choices matter as much as lighting.
Eye-level shooting for natural-looking apparel images
Eye-level shots look familiar to shoppers and reduce perspective distortion. When the camera sits at chest or waist height for a mannequin or model, length and shoulder slope appear true to life.
Why extreme angles create misleading visuals and inconsistent sets
High or low viewpoints can stretch hems, broaden torsos, or compress waists. Those distortions mislead buyers about fit and can make a catalog feel uneven.
AI can nudge perspective, but it cannot reliably restore accurate garment geometry once the viewpoint is wrong.
Choosing a reliable hero angle you can repeat across the line
Pick one hero approach—commonly a 45-degree or straight-on shot—and lock camera height and distance. Repeat this for every style so shoppers compare items fairly across listings.
- Align hems and center plackets before each shot.
- Straighten collars and keep sleeves symmetrical on both side views.
- Mark camera placement on the floor to repeat framing across shoots.
| Issue | Quick fix | Result |
|---|---|---|
| High-angle distortion | Lower camera to eye level | True length and shoulder proportions |
| Low-angle exaggeration | Raise camera to neutral height | Balanced torso and hem appearance |
| Inconsistent hero shots | Lock distance, height, and lens for all items | Uniform catalog and faster buyer decisions |
Dirty, wrinkled, or unprepared clothing that retouching can’t realistically fix
What you handle before the camera sets the baseline for every listing’s credibility. Minor surface issues read as low quality and distract from fabric details. Cleaning and steaming on set saves hours of editing and keeps listings honest.
Common on-garment issues that add edit time
Look for deodorant marks, packaging creases, lint on dark fabric, stray threads, makeup transfer, and hanger dents. Each spot adds retouching time and can reduce buyer trust.
On-set prep kit and simple habits
- Kit: lint roller, garment steamer, fabric brush, clips/pins, clean gloves.
- Inspect items under your shoot lighting and re-check between frames.
- Store finished items in clean garment bags to avoid re-contamination.
Why some fixes are impossible in editing
AI can erase specks in a photo, but it often smears texture or alters weave. Deep wrinkles or pulled fabric rarely look natural after heavy repair.
Consistent prep standards produce uniform results and reduce reshoots across a full launch.
Low-resolution or poorly resized product images that reduce trust and conversions
Crisp, zoomable imagery is one of the fastest trust signals a shopper sees on a listing. When images show weave, seams, and finish, shoppers feel the item is real and reputable.
Why high-resolution files increase perceived quality
Clear imagery implies higher craftsmanship and a legitimate seller. Shoppers equate sharp detail with better build, which boosts conversions.
Practical baseline and speed tradeoffs
Minimum: upload at least 1200×1200 pixels so buyers can zoom and inspect texture without pixelation.
Optimize: compress with modern formats (WebP/AVIF) and sensible quality settings to keep load times fast and preserve clarity.
How to avoid pixelation, grain, and distortion
- Start with a high-res capture on your camera or phone; never enlarge small originals.
- Maintain aspect ratio when resizing and sharpen after you scale.
- Avoid heavy ISO that creates grain; export consistent sizes for your platform to prevent stretching.
“Blurry or distorted images make shoppers suspect low quality or fraud.”
| Issue | Quick fix | Result |
|---|---|---|
| Low-res originals | Reshoot at native resolution | Crisp zoomable images |
| Wrong aspect ratio | Crop to platform size, keep proportions | No stretching or warp |
| Slow loads | Compress with modern formats | Fast pages, retained clarity |
Conclusion
The fastest lift in conversions comes from clearer captures, not clever filters. Remove doubt by nailing the basics: planning, coverage, lighting, color, exposure, sharp focus, and resolution. When original images show true color and detail, editing only enhances trust.
Execution matters: better photography reduces returns, raises customer satisfaction, and strengthens brand perception across products.
Quick checklist for your next shoot: plan the shot list, capture 3–5 angles plus tight details, lock lighting and white balance, control exposure, stabilize for sharp focus, use a clean background, and export high-res files.
Make every frame a sales asset: set consistent standards so your store reads as one coherent catalog. Above all, make sure each image exists to show product features clearly, not to show off effects.